
Don't Pay Contractors Unless They Do This
Pull out your lawn chair, and stare at the digital manifold gauge for an hour while they do a pressure decay test, then pull a deep vacuum. I'm serious.

Every single homeowner should do this. You’re paying like, the price of new car for a heat pump installation. It is bonkers that people don’t do this. It’s easily the highest ROI hour you may have in your entire year.
How It Works
This is a balloon.

To check to see if the balloon has any holes, you would blow air into it, and then tie the knot at the bottom, and watch it for a few minutes to see if it shrinks.
If it has a big hole, the balloon will immediately deflate.
If it has a small hole, the balloon would deflate, but slowly.
If it has a really small hole, you would need to look at it for maybe 30 minutes to an hour to see if it materially changes or not.
This is the basic principle behind how you check for leaks.
How This Works for a Heat Pump
Refrigerant leaks are one of the most common, if not the most common, performance issue when it comes to heat pumps. This usually happens when HVAC techs join two refrigerant lines together to make a longer one, and the connection in between isn’t super tight.
Testing to see if there are any leaks operates on the same principle as the balloon.

This is that same balloon. But the problem with refrigerant lines (pipes) is that if there’s a leak, the lines don’t deflate - they’re metal.
So how do you tell that the pressure is dropping?
With a meter, of course.
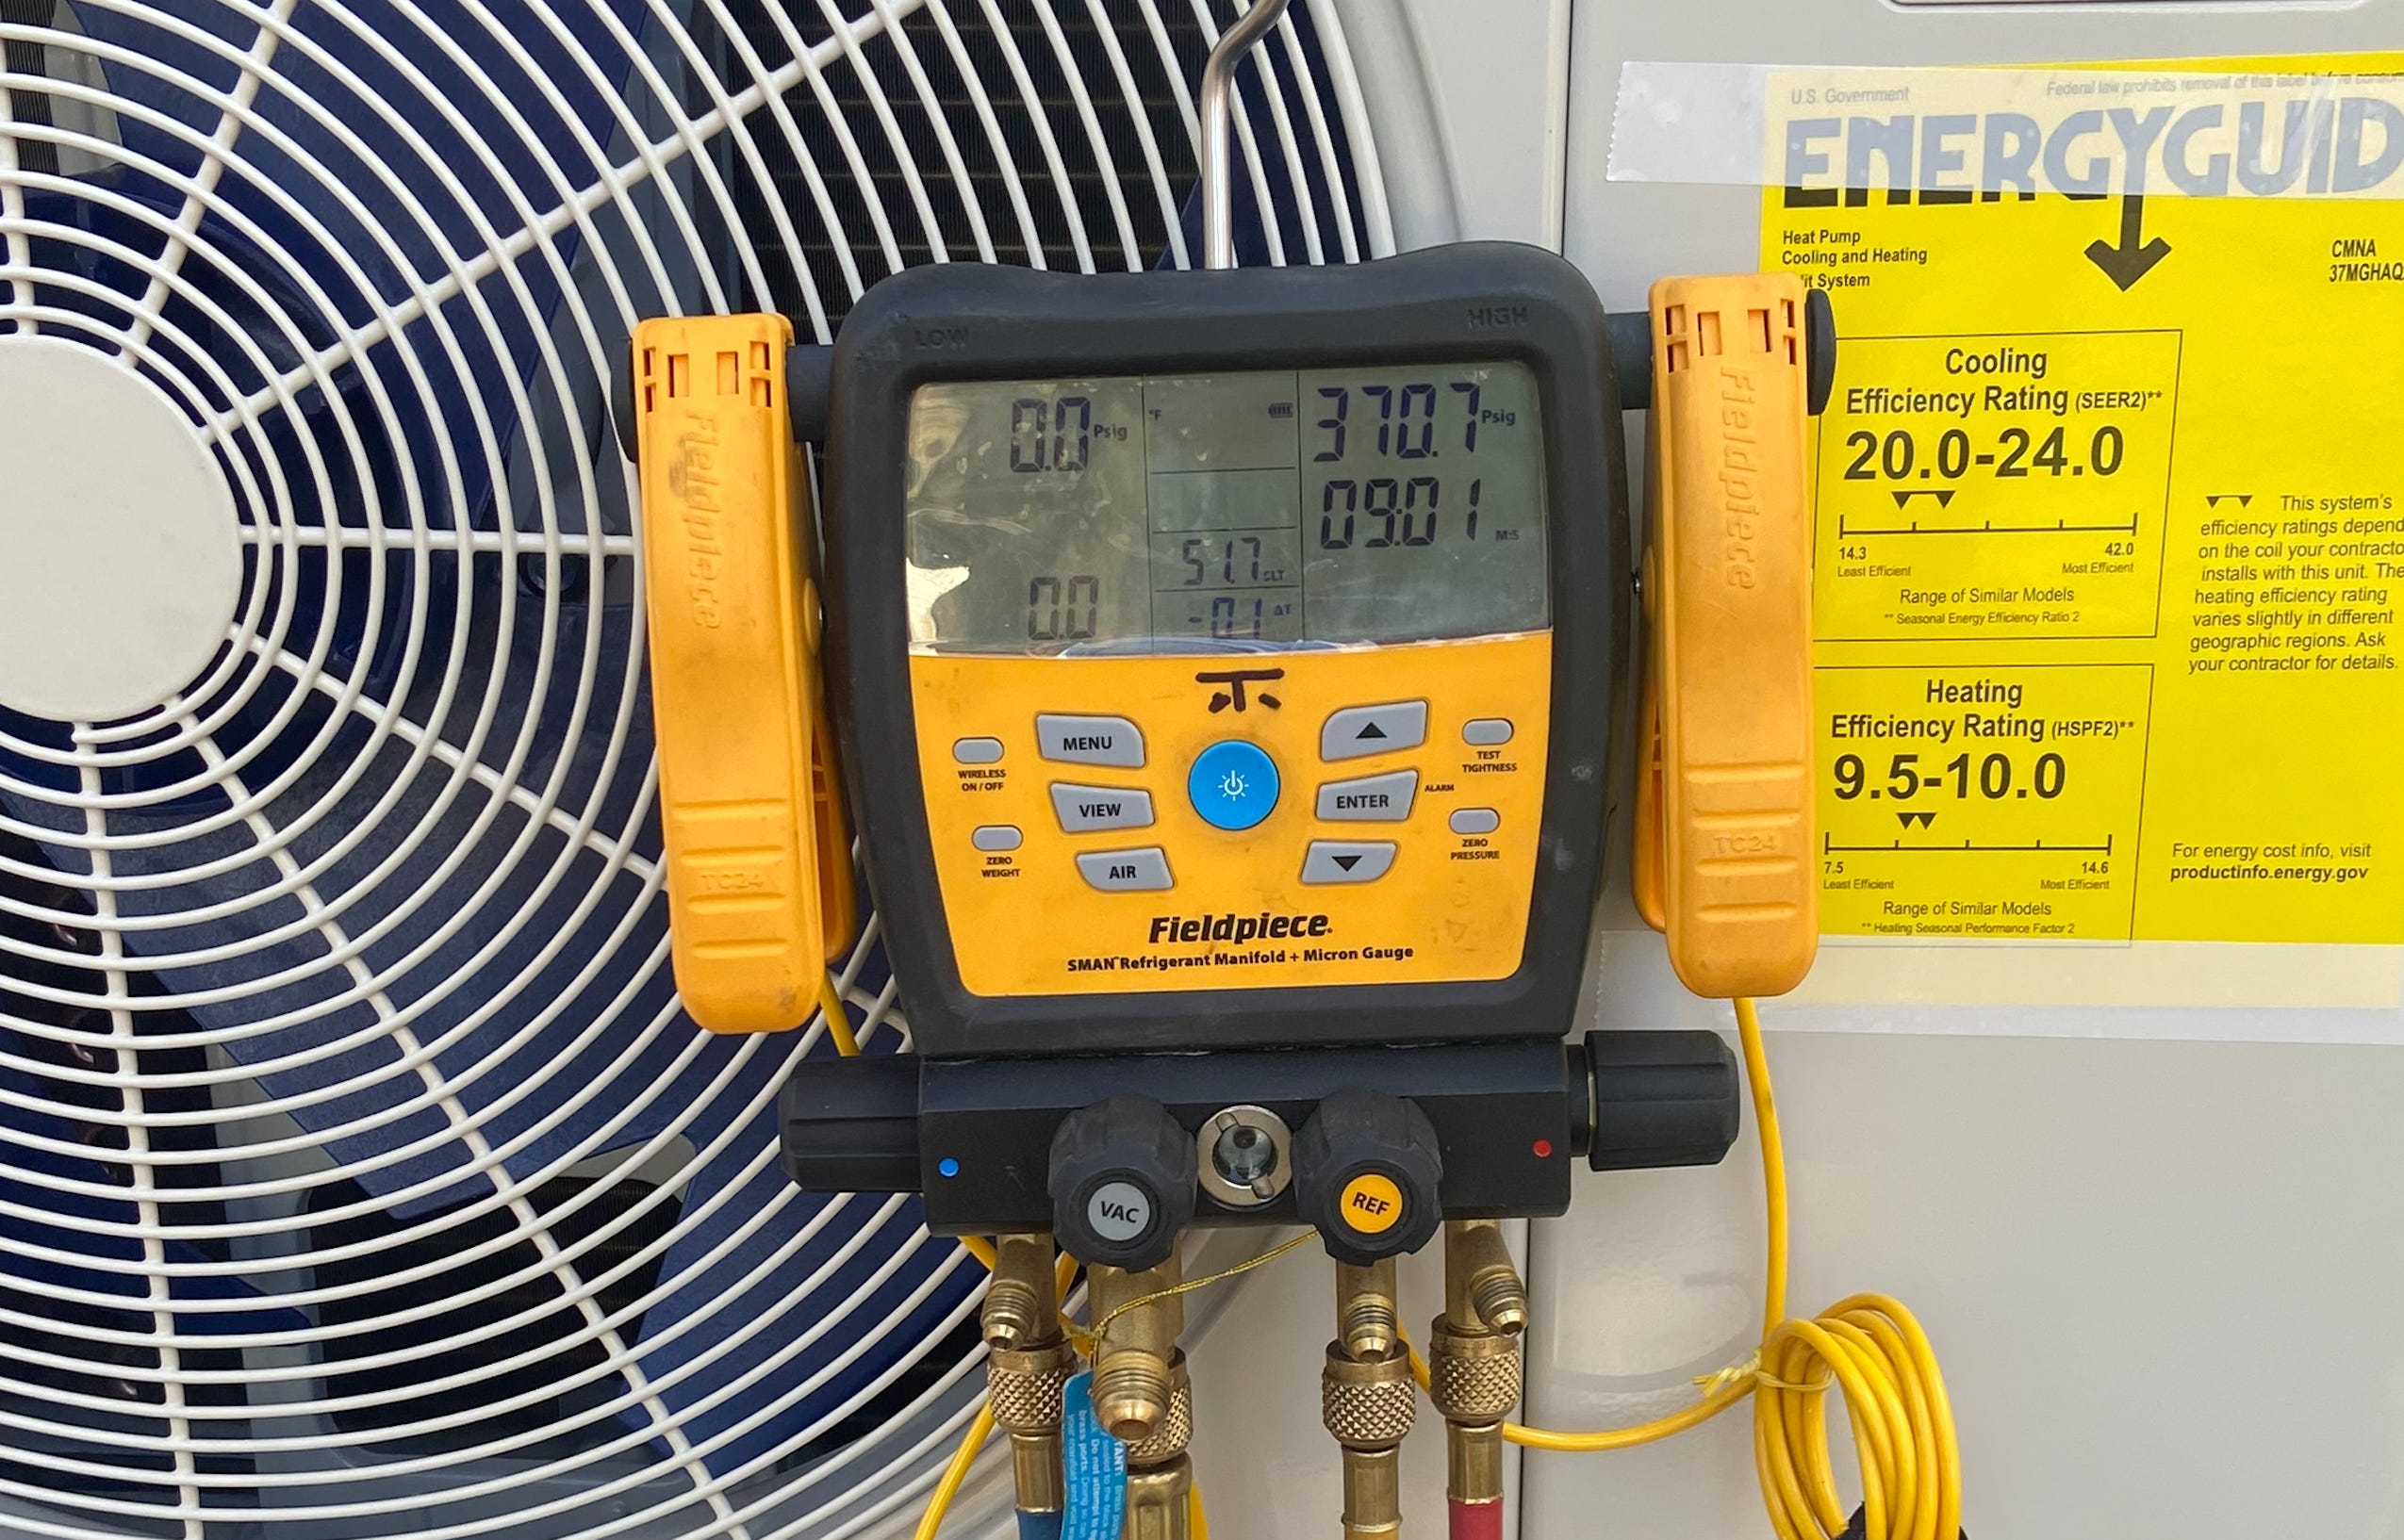
This is the meter. It’s called a digital manifold gauge. The numbers on it correspond to pressure readings.
If the air goes out of the balloon, the pressure inside is lower. And if there’s a leak in your system, the pressure reading will drop over time.

This should be ideally tested for every single separate refrigerant line. So, if you have a 5-head mini-split installation, you should check it for all 5 lines (UNLESS you have a branch box, which is a bit different1).
To pass the pressure decay test, the pressure reading, once stabilized in the 1st minute, should not really change at all (if the outdoor temperature is consistent).
At a minimum, stare at this meter and make sure that pressure reading is consistent for at least 30 minutes. Then, ideally, leave it for several hours and check again. The gold standard is to leave it overnight to ensure there are no microscopic leaks.

Rinse and repeat for every port that is being used.
Don’t pay the contractor unless this test has been passed (ideally, have it in the contract). If you can’t pass this test, expect a shorter-than-usual lifespan of your system, and poorer performance.
Deep Vacuum Pull to Guarantee Performance
Okay, so now you know there aren’t any leaks. But you need to be sure that the refrigerant is pure if you want maximum performance.
This is an incredibly fancy cookware set.

The reason it’s so fancy is because it’s made of pure copper. Like, really pure copper.
And pure copper is really good at conducting heat.
This is sort of how refrigerants for heat pumps work. The more pure the refrigerant, the better it is at moving heat around - which saves you energy, and makes the system work better.
How to do you ensure that the refrigerant that you charge into the refrigerant lines is pure?
Well, by making sure the insides of the refrigerant lines are really, really, really clean. You do this by pulling a very deep vacuum.
Let’s say that you’re a high end coffeeshop. You’d clean out the chamber before you brewed fresh coffee. You wouldn’t leave yesterday’s stuff in there.

To get as pure of a refrigerant charge as possible, we need to pull a very deep vacuum, and have it HOLD for a long time, to
Double check that there are no leaks (b/c if, say, water vapor leaks in, that ruins it)
Suck out every bit of impurity in the lines
How do we check that the vacuum pressure is holding? That’s right: with the same exact gauge.
⚠️ Note: the noise below is from the vacuum pump, not the heat pump outdoor unit! ⚠️
So, when it comes time to charge the system, pull out the lawn chair, and literally stare at the damn thing to ensure that the vacuum is under 500 microns (lower is better!) for at least 30 minutes.
And If They Can’t Pass the Test?
Make the HVAC techs go find the leak and seal it!
Why You Should Care
Leaks are a hit to performance. And they are SUPER common.
This is highlighted by no less than State Senators like Will Brownsberger, who has so far as to say heat pumps are not a great move due to poor installation quality:


Literally staring at the pressure reading essentially GUARANTEES THAT YOU WON’T HAVE LEAKS.
IT TAKES LIKE, HALF A DAY.
This is easily one of the easiest way to stop poor installations, or at the very least withhold your money until the installation is done correctly.
Most of you are paying the price of an entry-level Toyota for this heating system. This is the equivalent of taking a used car out for a test drive to see if it even works before you buy it. (Or like, getting a Carfax report2.)
Please please please take a half day off from work and just make sure this is done correctly.
Thank you,
Kit
Gotta dig into this, but with a branch box, you only have a 1 port connection to the condenser, so it’s a bit different. We’ve seen cases where people pressurize & leave it overnight to see if there’s a pressure difference.
If information about this was public, we would easily be able to identify who the good contractors are vs. ones who aren’t so good. Mass Save should make this a requirement for the rebate.
This should be required for permits.
In lieu of that, it’s up to YOU, dear consumer, to hold contractors accountable. We’ll do our best at LC to try to do the same.
I wish I’d read this before my heat pump installation in Jan 2024. Waiting for a refrigerant leak repair as we speak. I’m pretty sure my contract mentioned a 500 micron vacuum. I will definitely keep my eye on this when the new line set goes in.