
More Installation Notes
Learnings from the spring, for both ductless & fully ducted installations.

We said we’d run an academic hospital. So now we’re doing it. Here are 2 installation cases from this past spring.
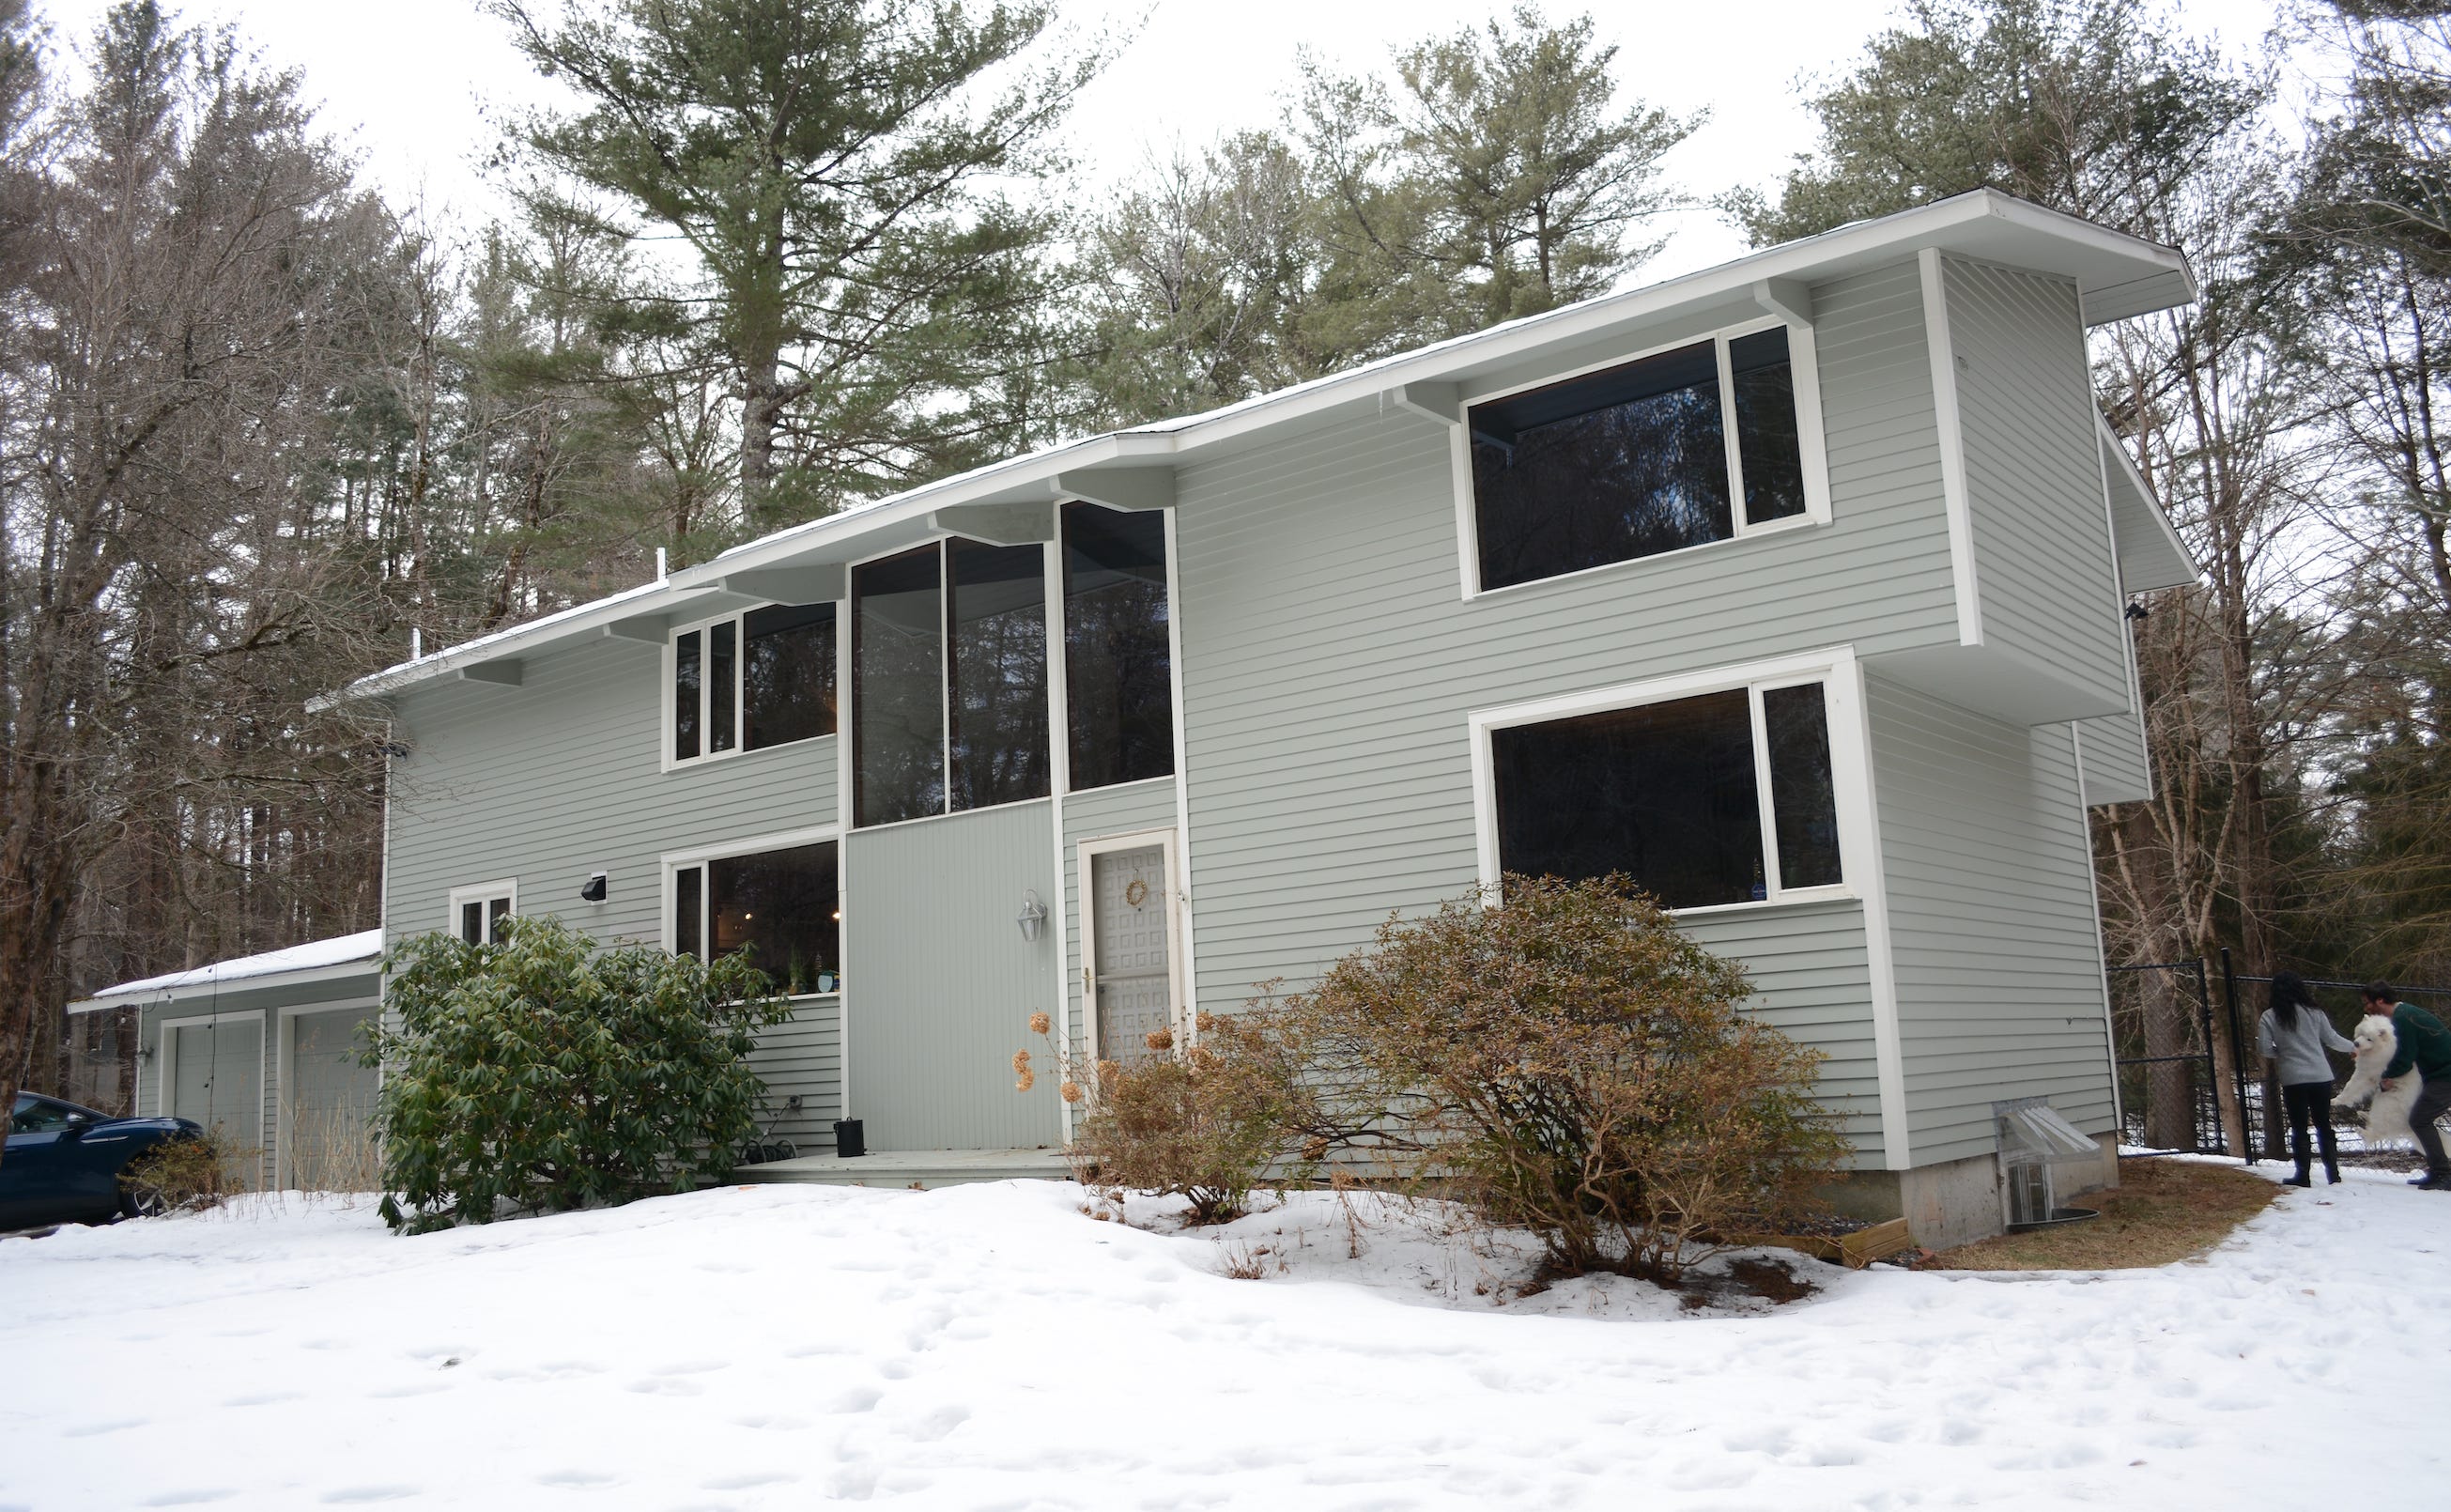
Case 1: Contemporary House in Lincoln, Ductless
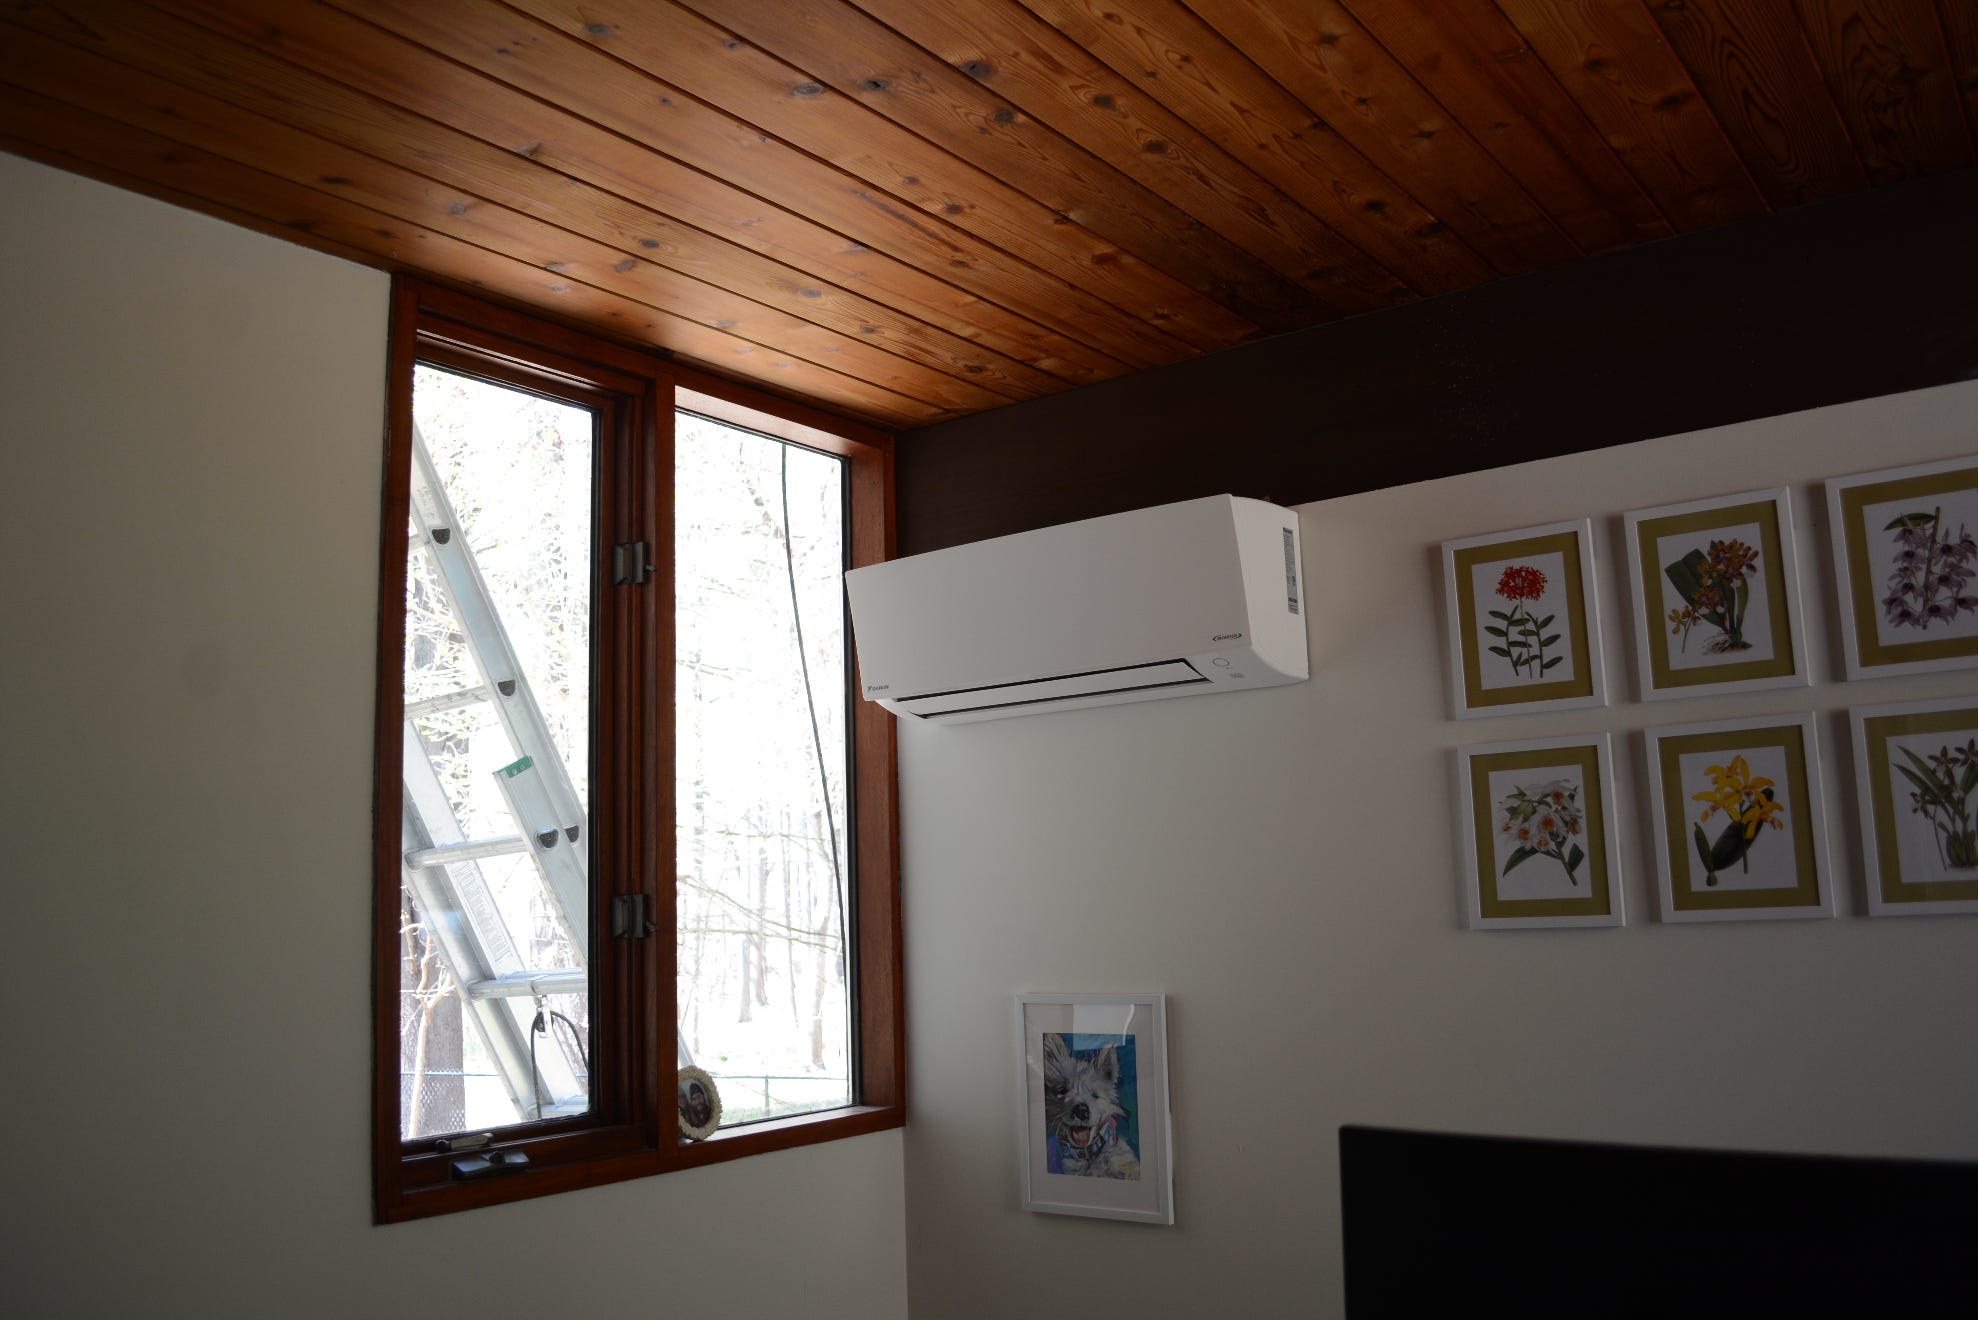
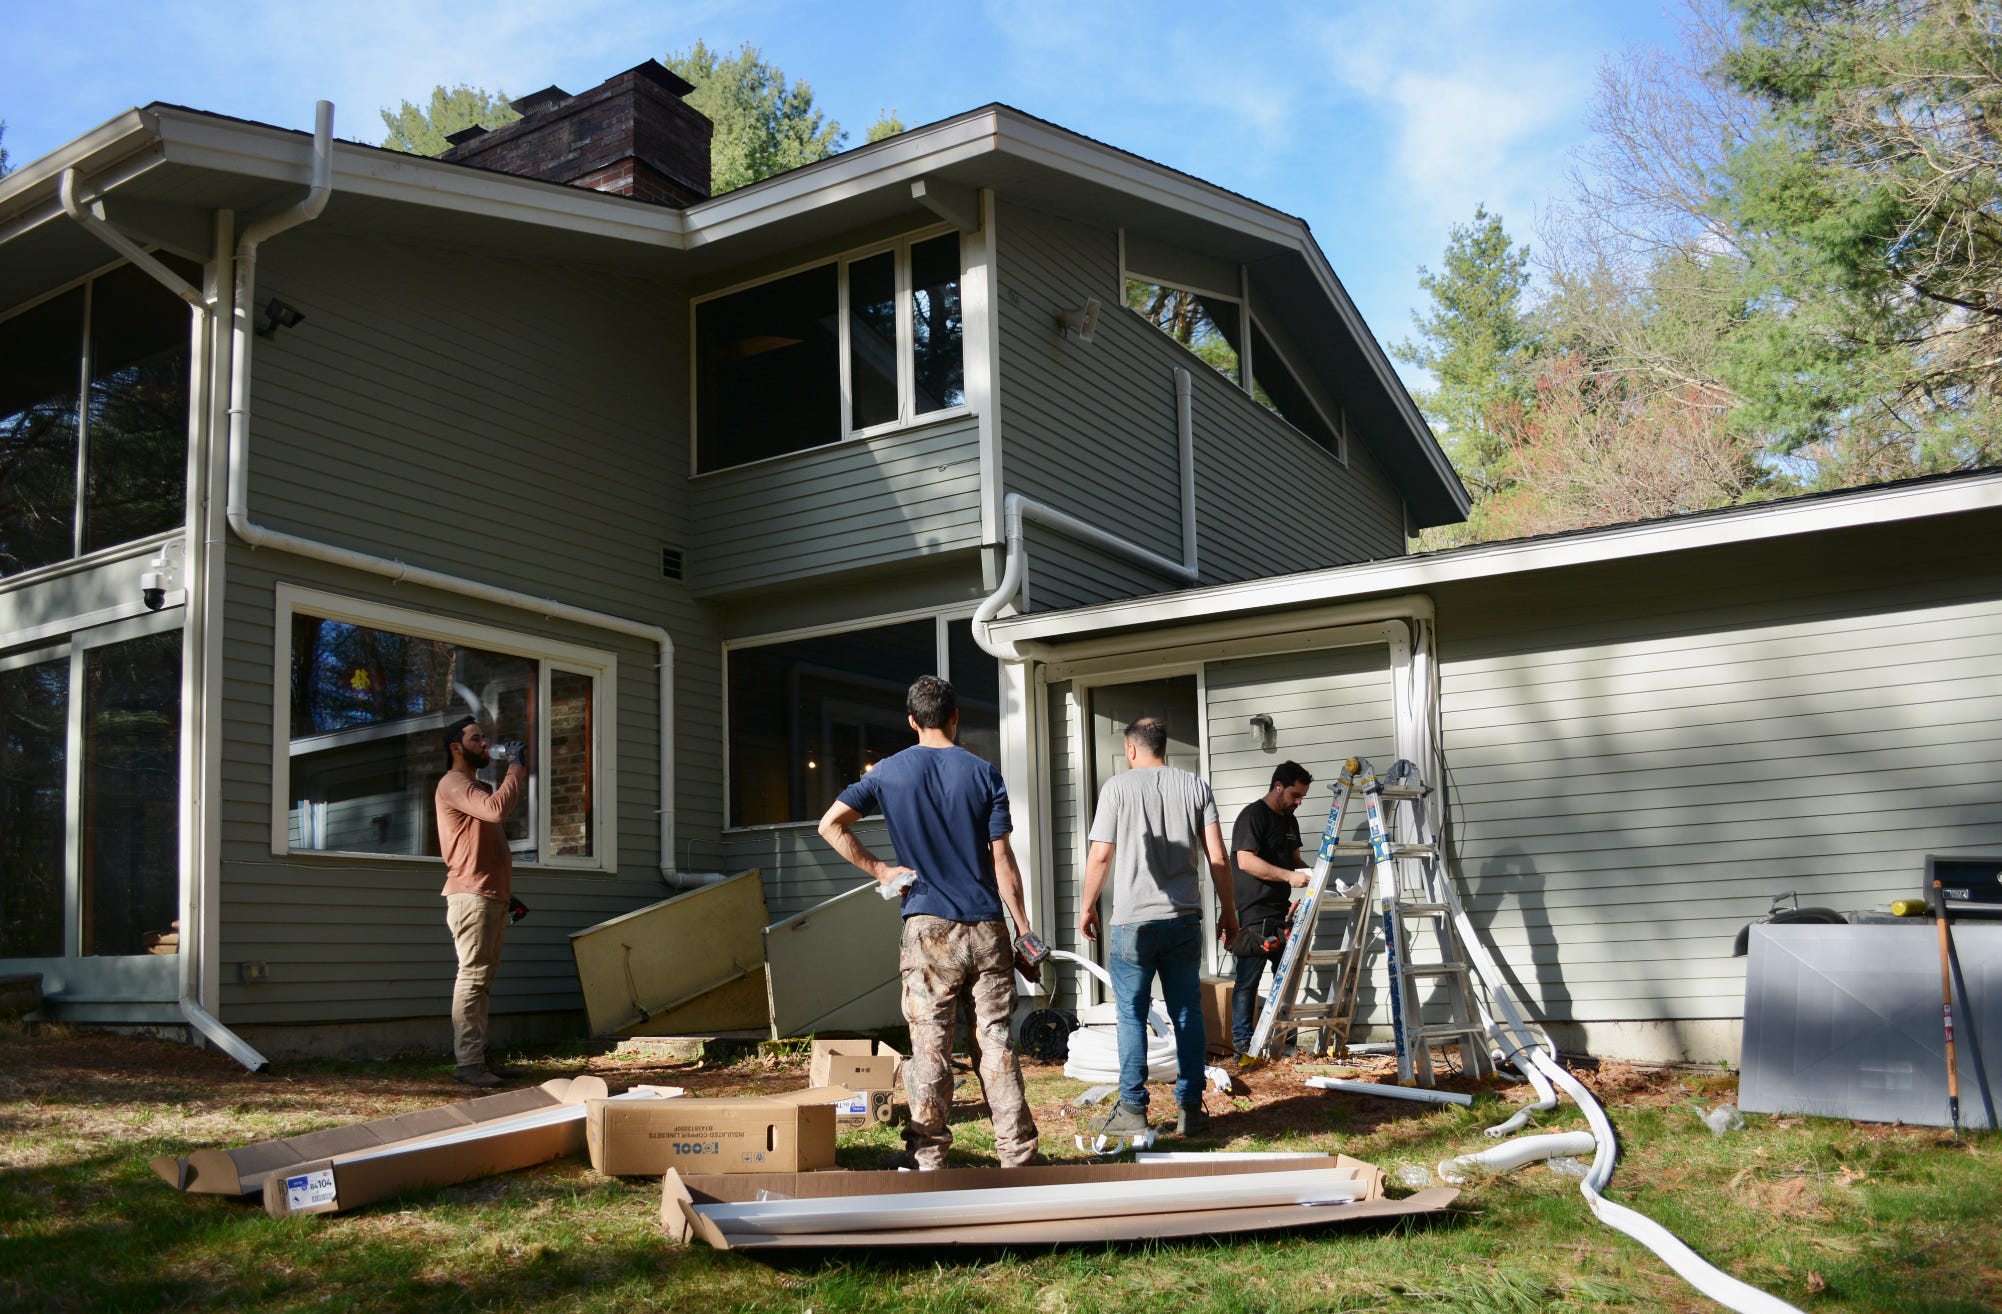
Contemporary house in Lincoln. The heating load, interestingly, is the same as the cooling load, largely due to the big windows & a greenhouse effect in the summer. We installed 2x Daikin outdoor units, which will power 7 mini-split heads indoors.
Duration: completed in 2 days with an extra-large crew. They passed our vetting. Crew scores highly on construction1 and execution, and slightly above industry average on commissioning (more about that later).
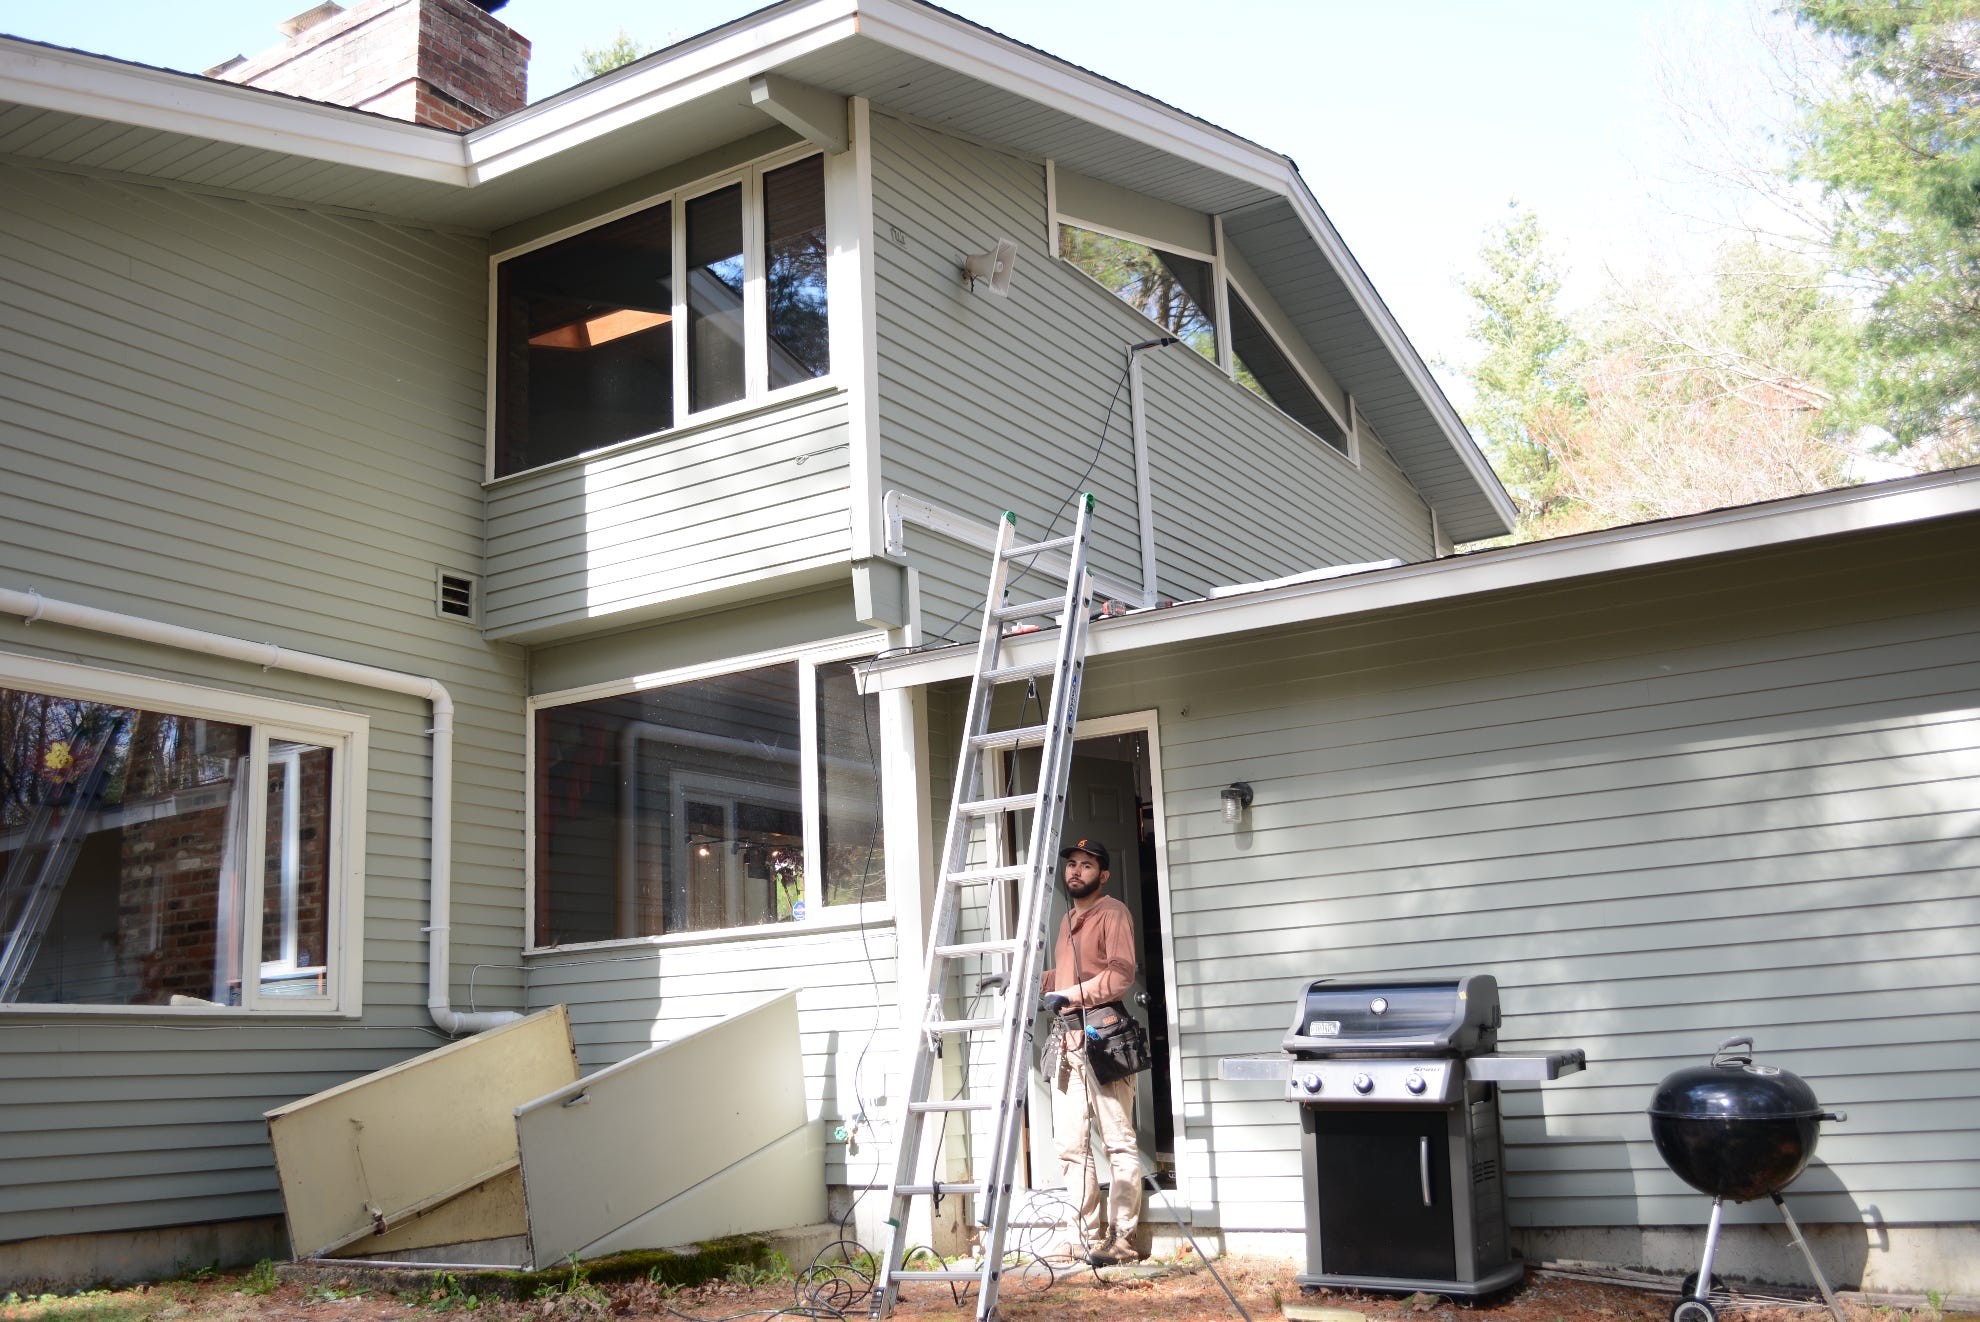
Before:
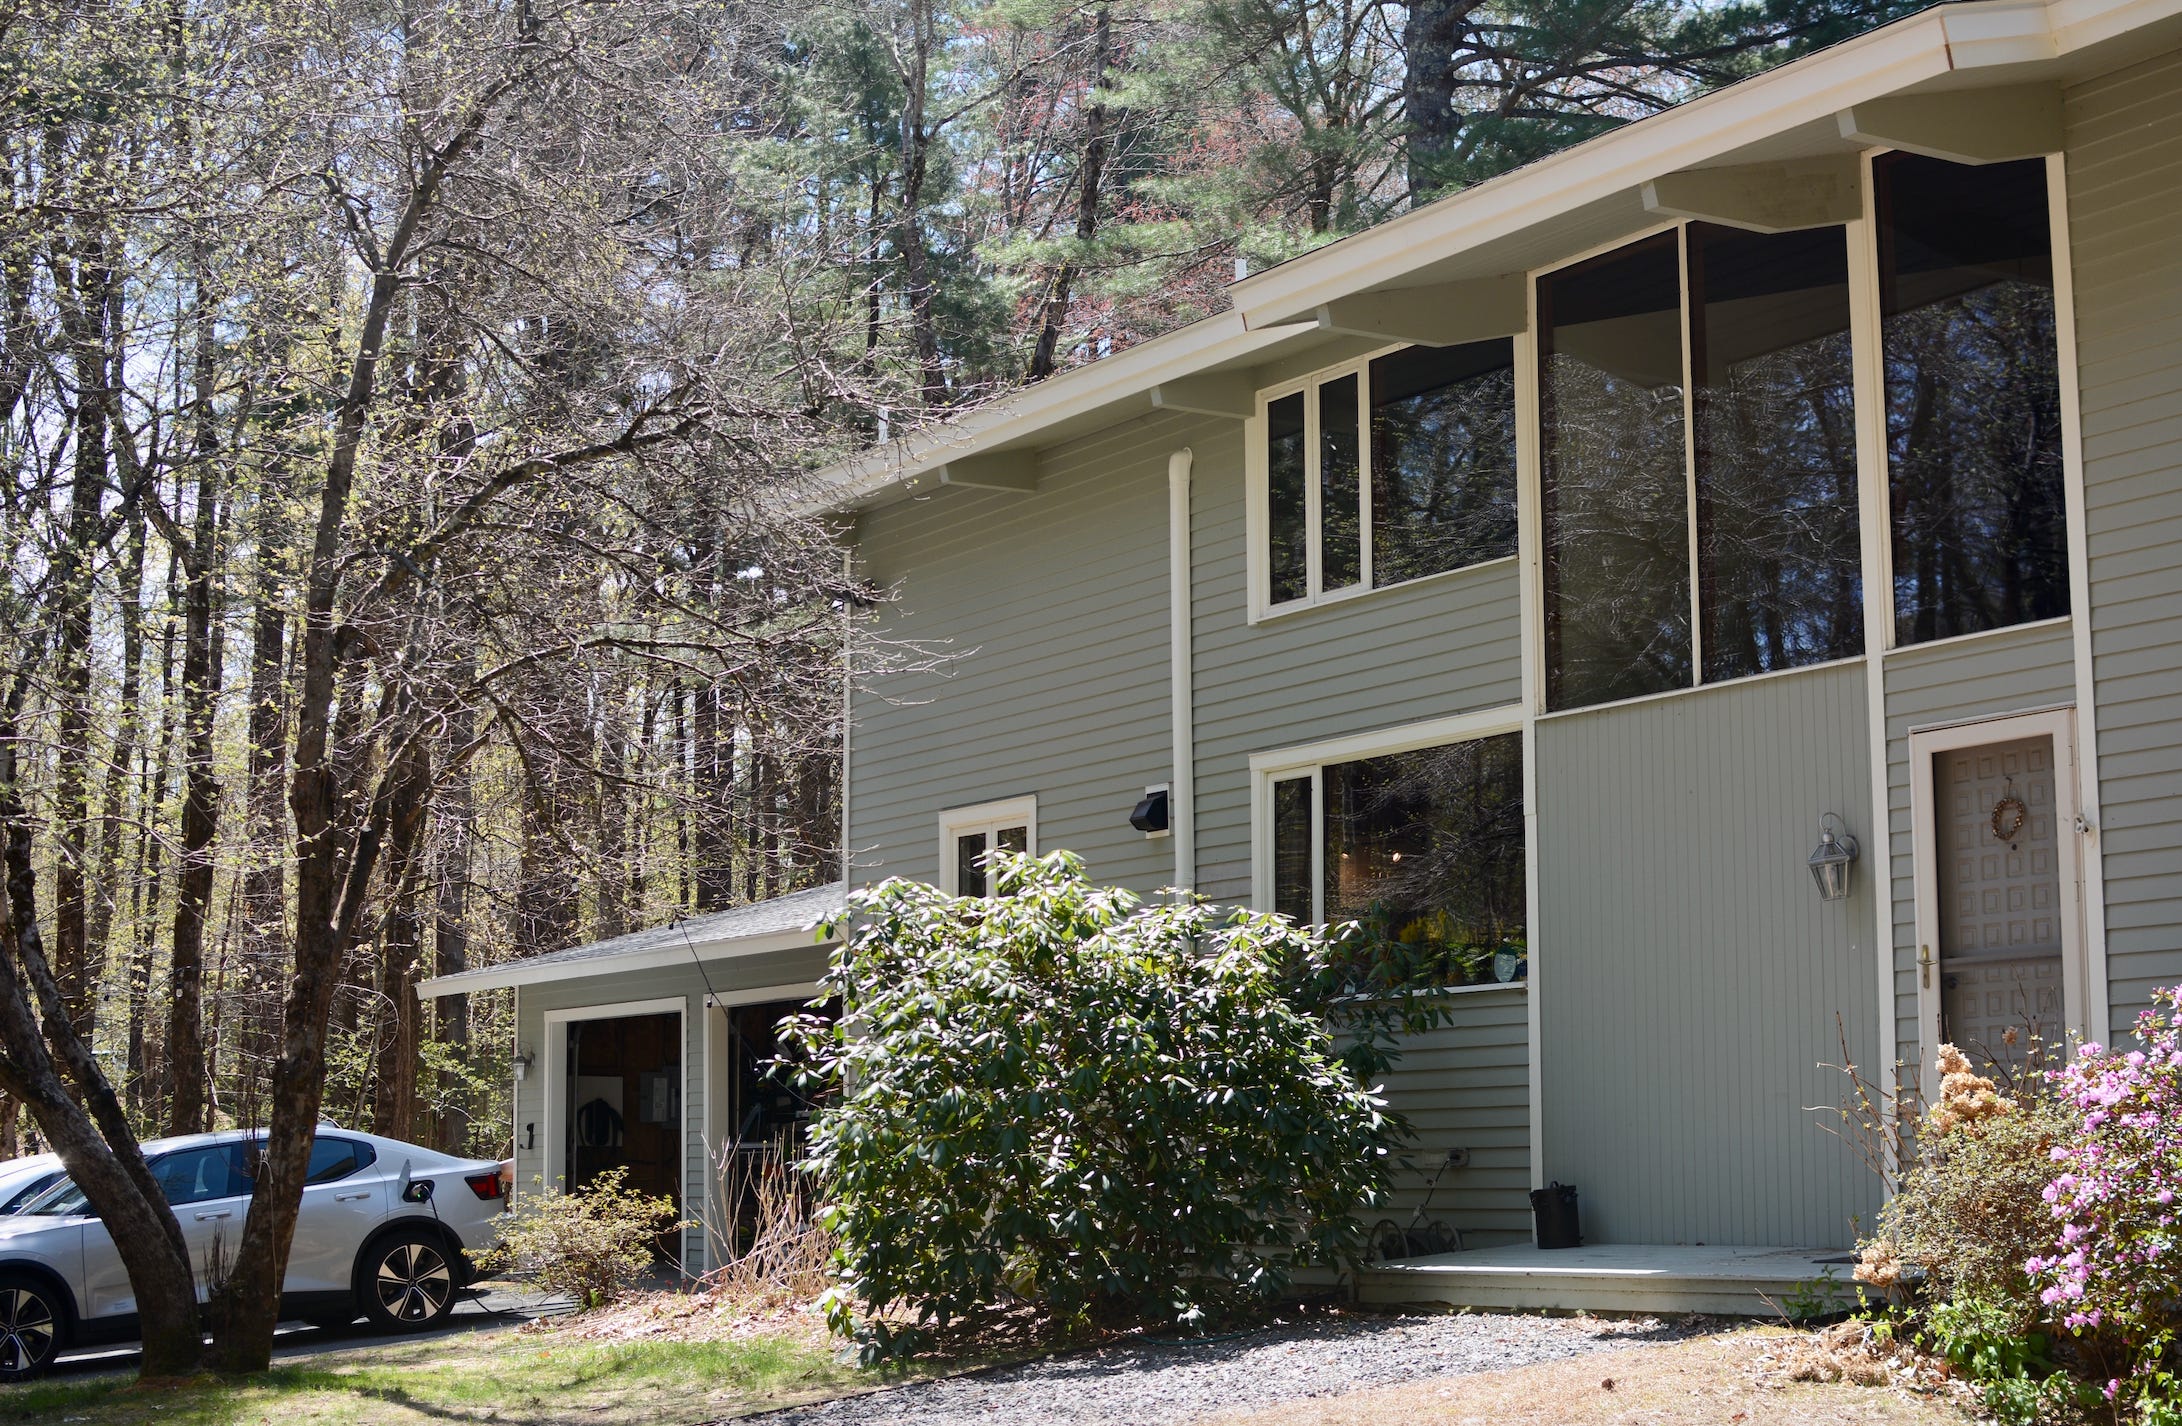
After:
The general steps were:
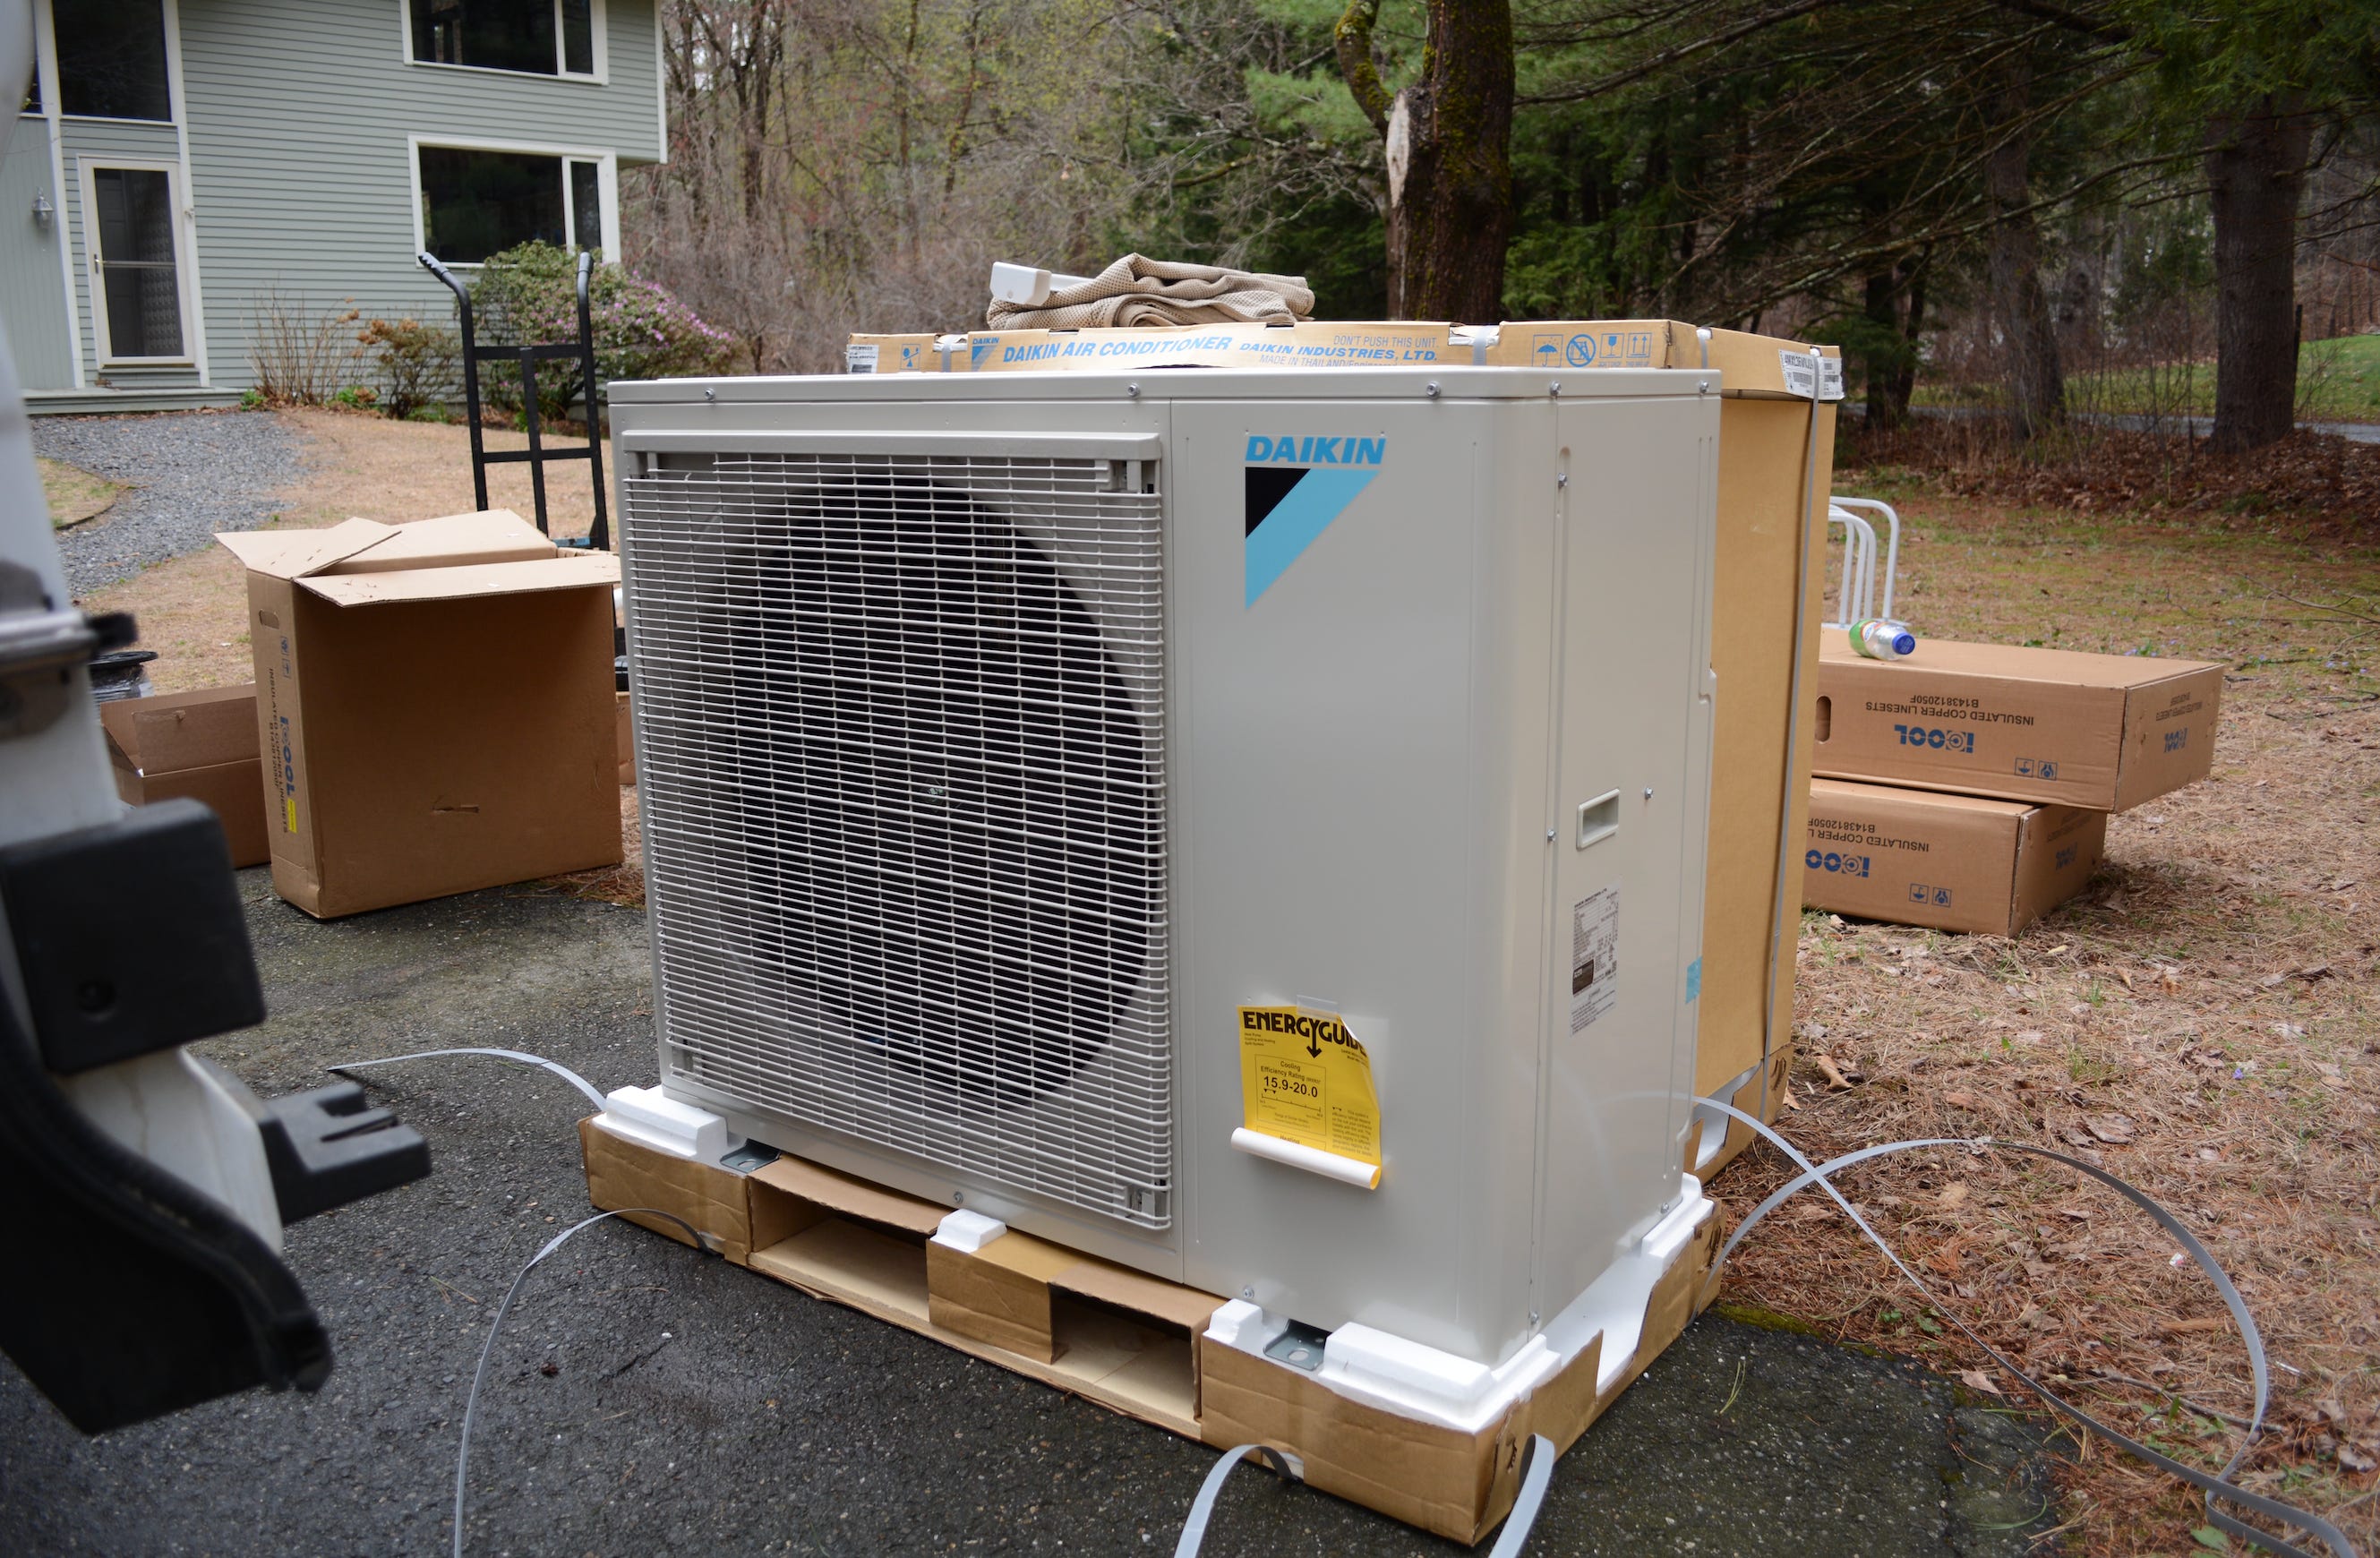
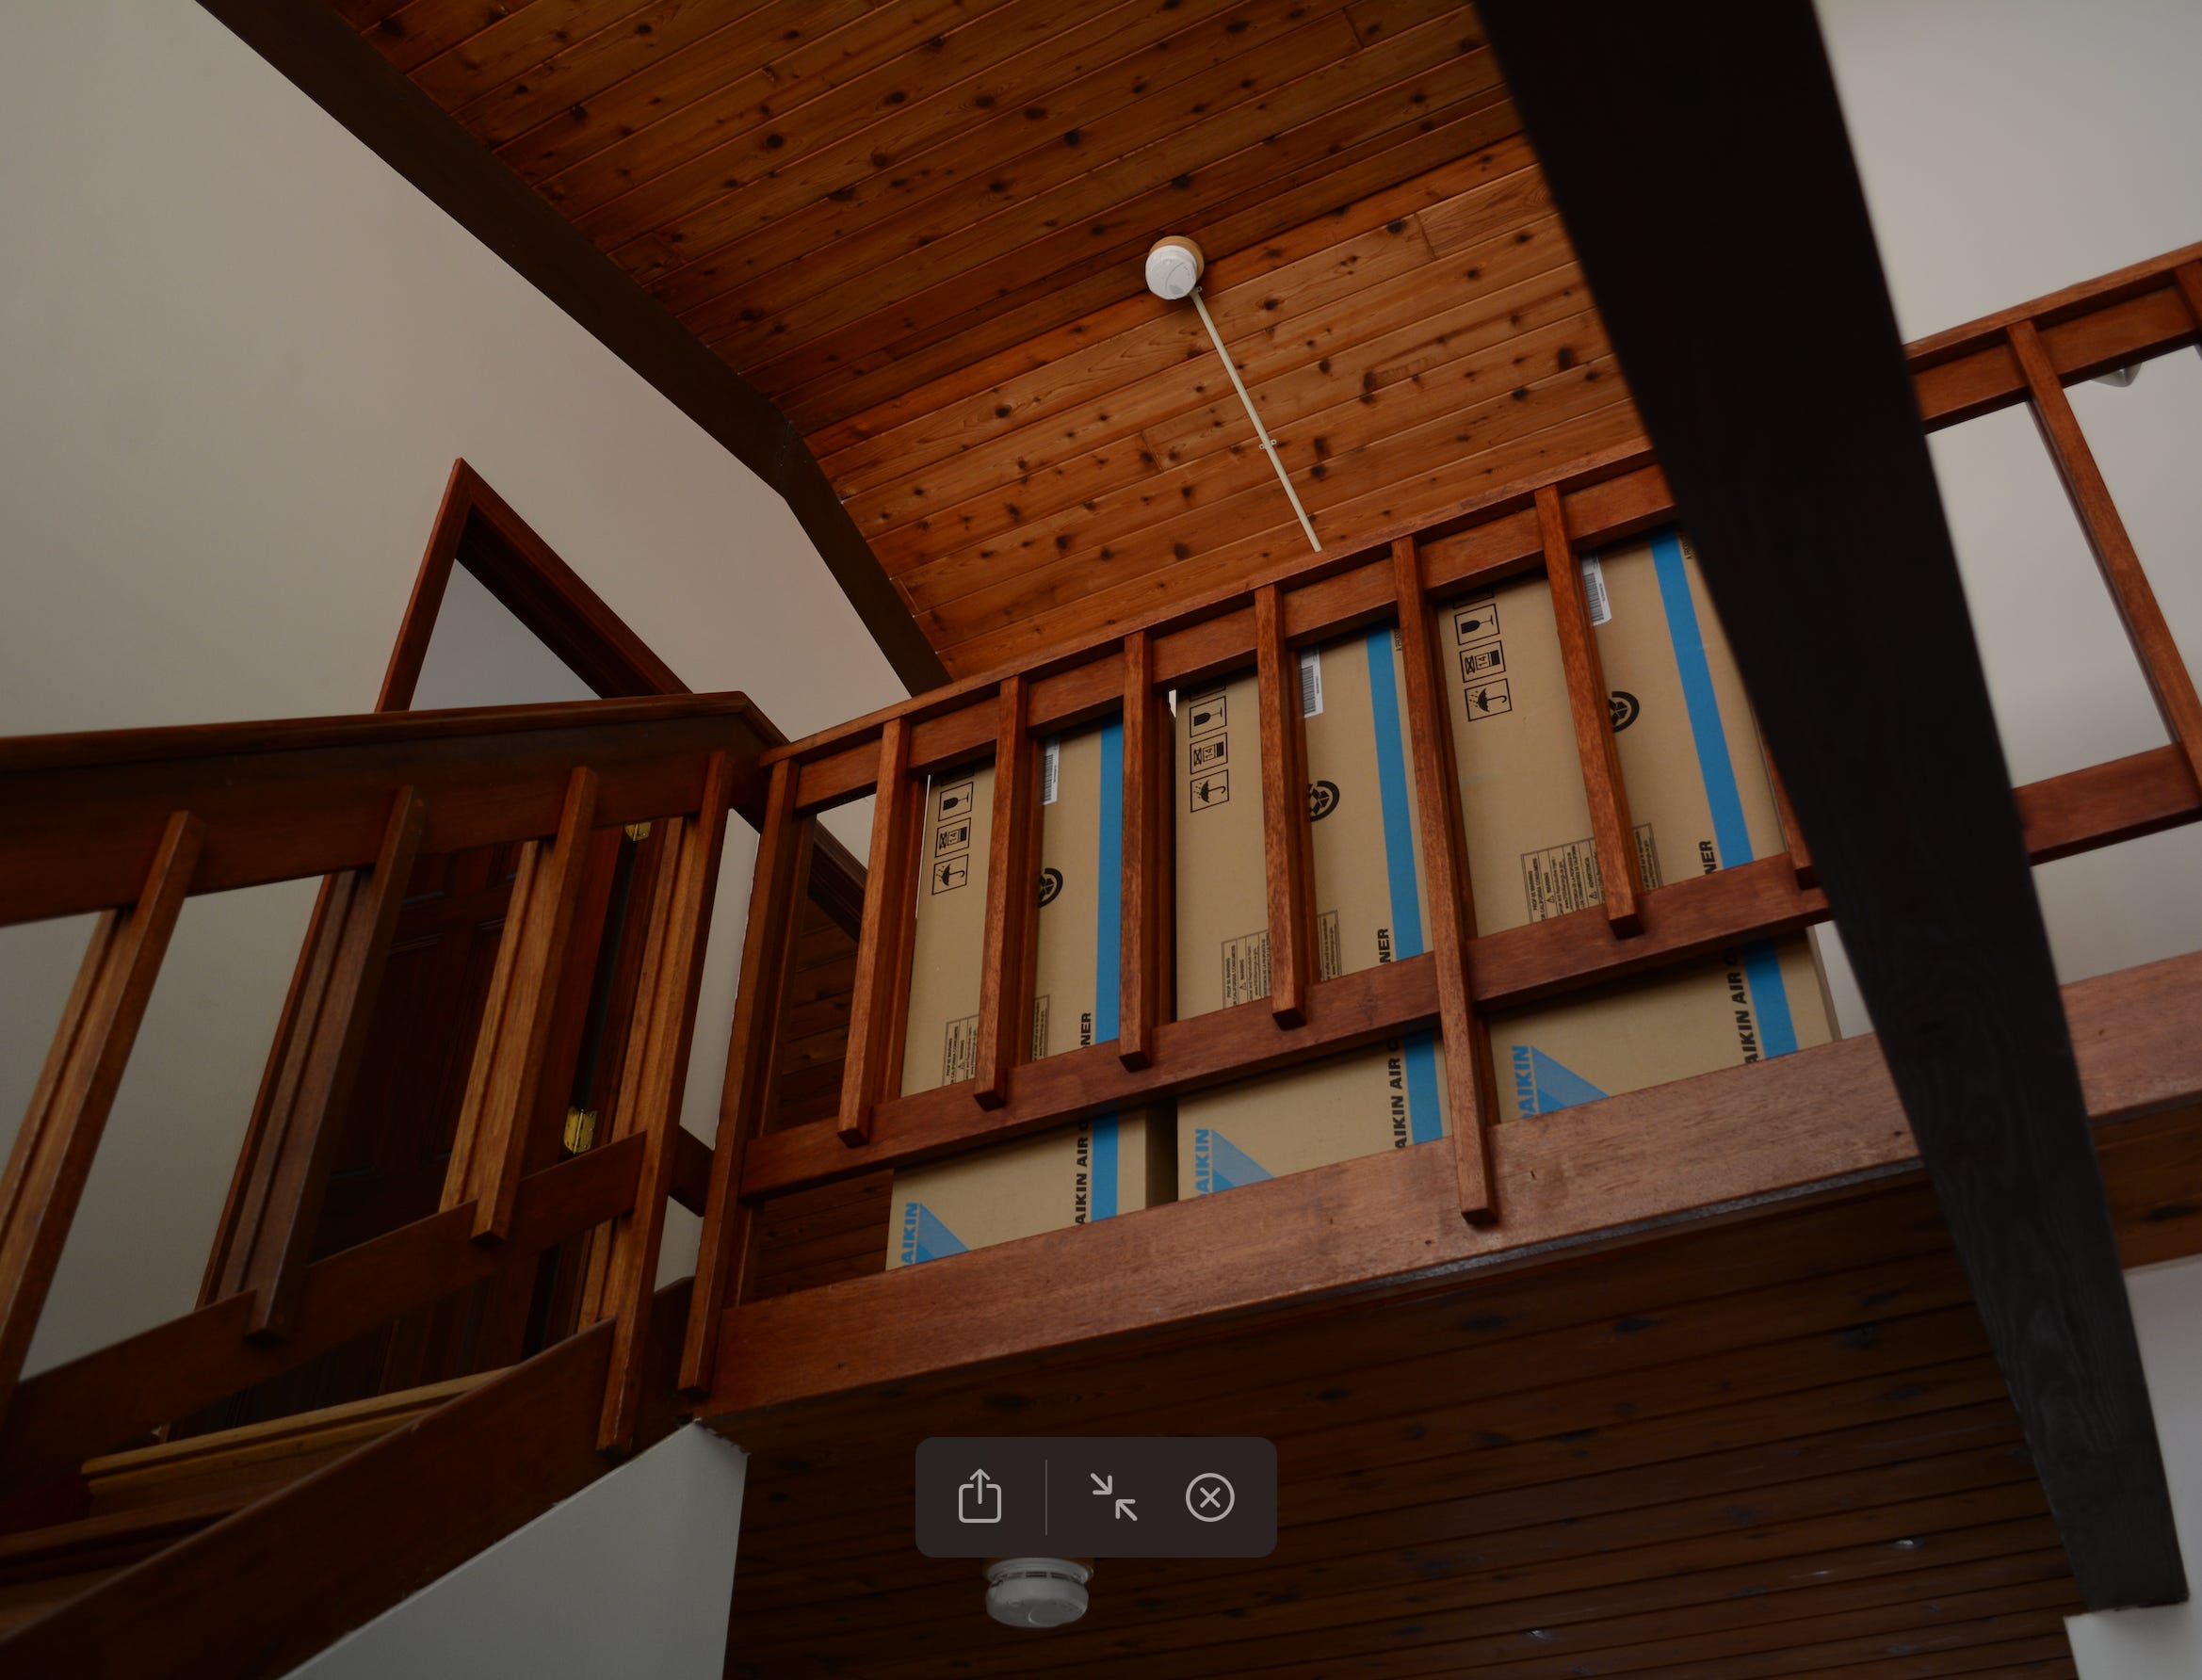
Arrival & Unboxing
Confirmation of Mini-split Locations w/Homeowner
1st Condenser (Morning, Day 1)
Drill holes
Hang mini-splits
Line cover underside goes on
Run refrigerant, condensate, and communication wires
Wire mini-split
Line cover goes on
2nd Condenser (Afternoon, Day 1)
Drill holes
Hang mini-splits
Line cover underside goes on
Run refrigerant, condensate, and communication wires
Wire mini-split
Line cover goes on
Pressure Testing (Late Afternoon Day 1)
Electrical Work (Day 2)
Deep Vacuum & Commission (Day 2)
Day 1
8 AM: Arrival
Crew arrives. Unboxes condensers, line set, materials. Crew lead gets a walkthrough of the house interior & exterior, confirms mini-split head placement with homeowner for each room, and team discusses line run routes based on preliminary discussions.
9 AM to 11 AM: Early Mini-split Work for 1st Outdoor Unit
After preferred mini-split locations are identified, holes are drilled through the walls and the mini-splits for the 1st outdoor unit are hung in preliminary positions (precise wall bracket adjustments to be made a bit later, though preliminary positions are mostly leveled).


11 AM: Ladder Work
Underside of line covers start going on for the 1st condenser. Line are run and connected to the mini-split stubs you see in the photo below.


12 PM: Line Covers Go On
Plus, additional line cover undersides get added simultaneously for other rooms.
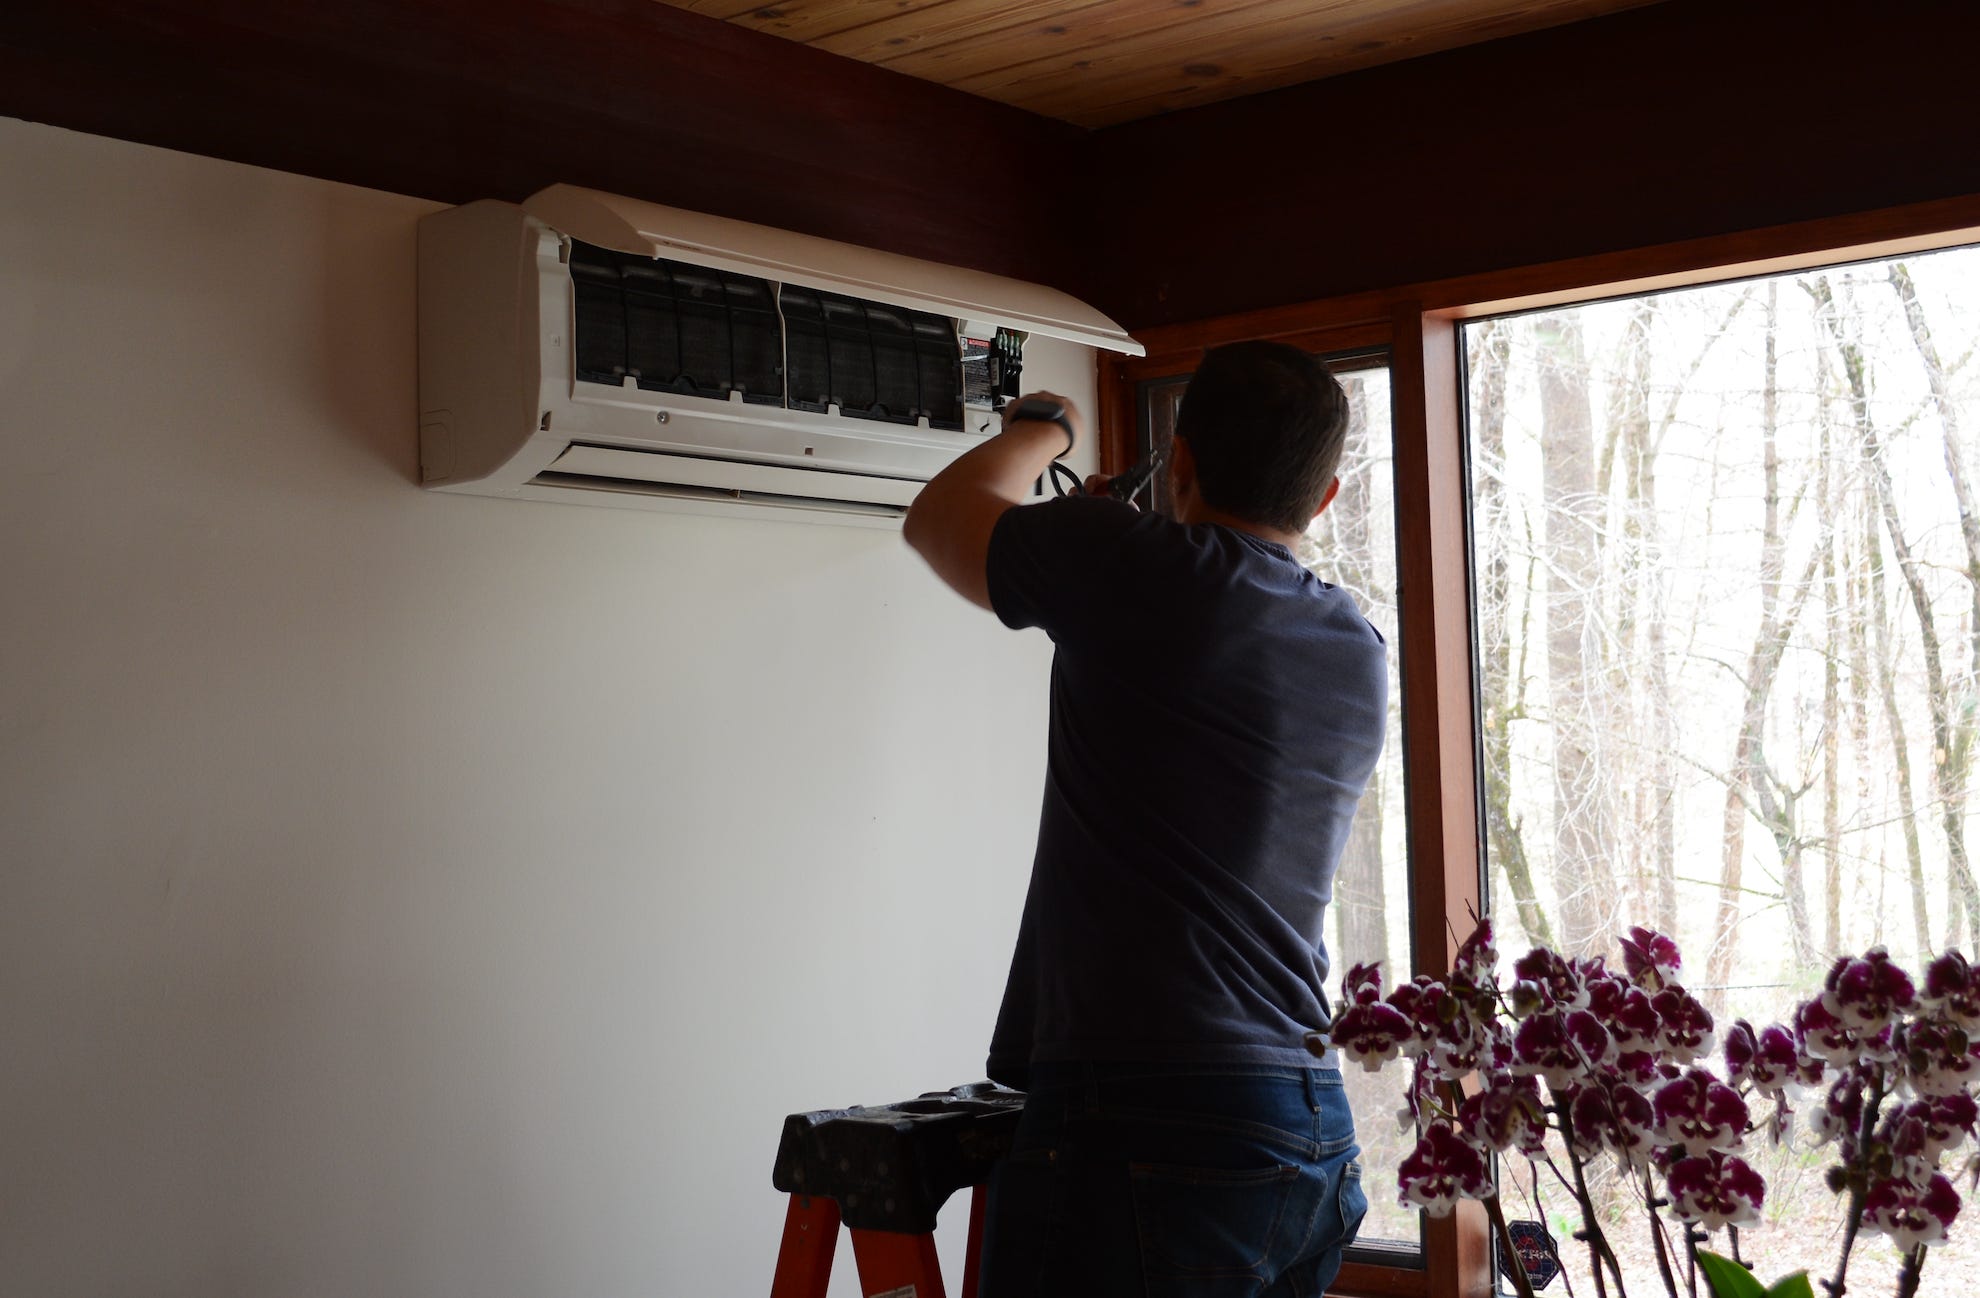
1 PM: Wire Mini-splits
Communication wires need to be connected. Do this for all mini-splits.
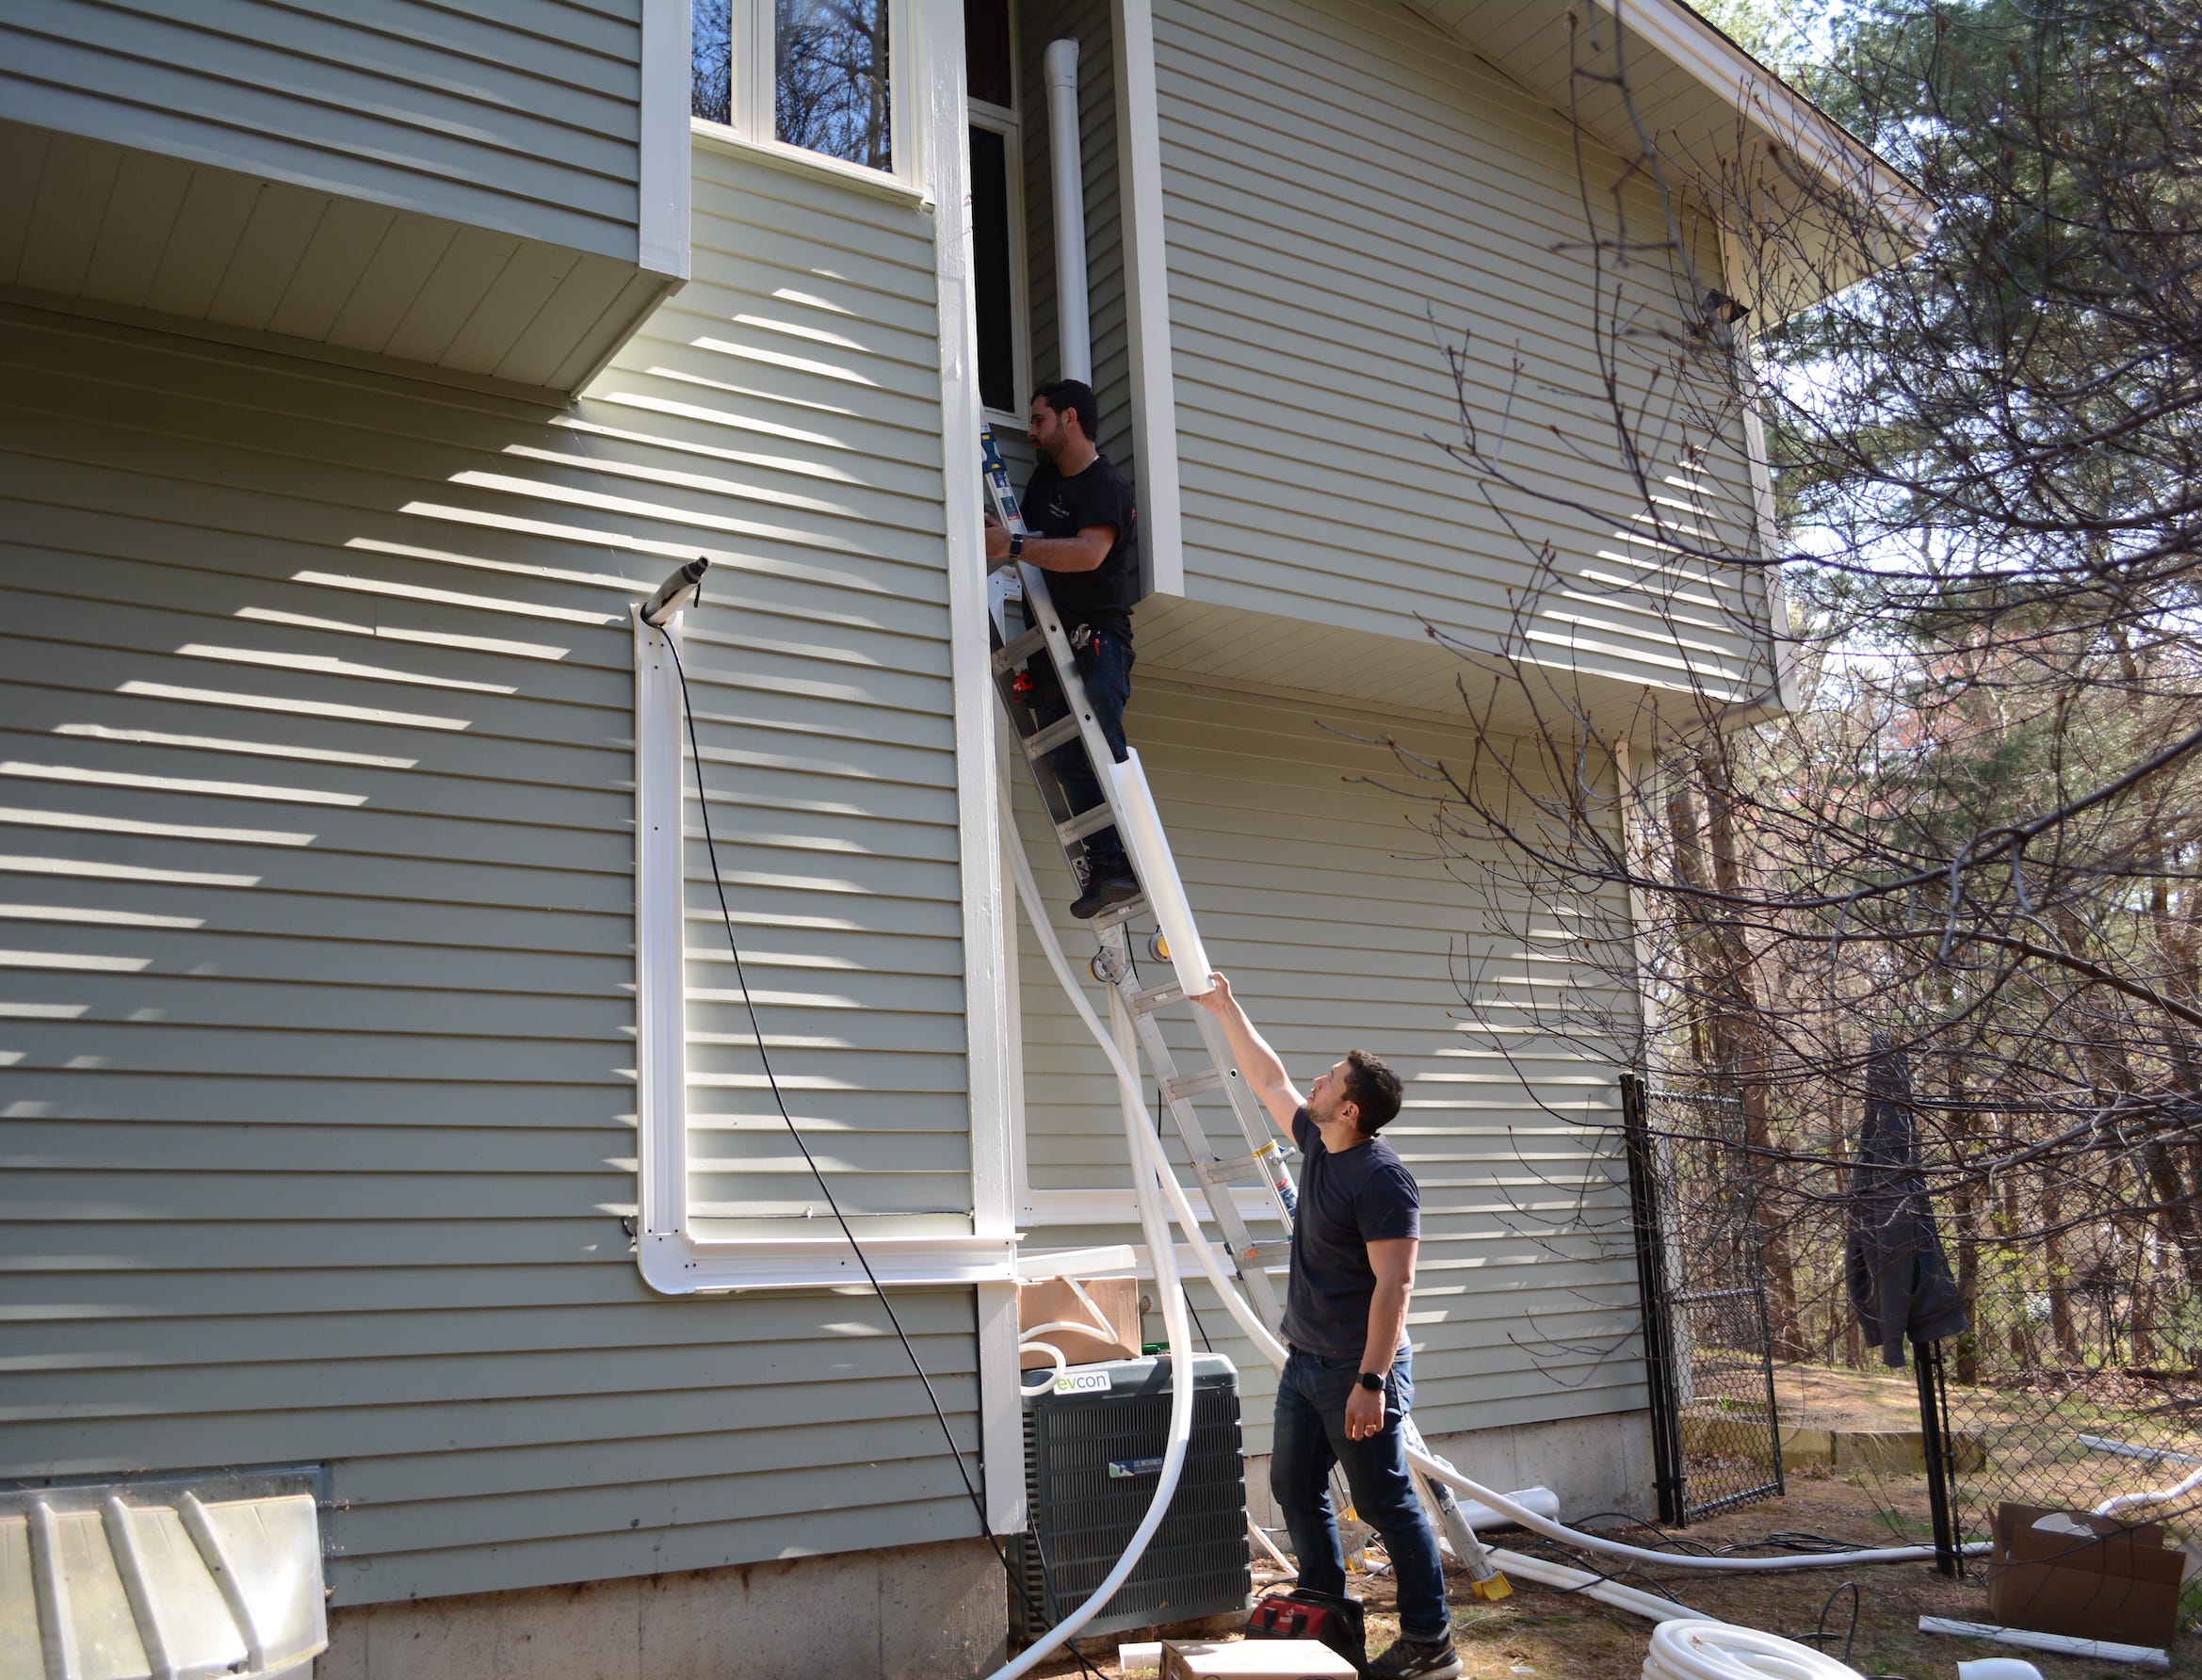
1:30 PM: Line Cover & Runs for Condenser #2
This particular unit is set on the other side of the house, and requires more skill in design. They’ve opted to squiggle around the corner here in the back, in what I think is actually a fairly reasonable run. Line run from the front goes through the basement, and unions with the one you see here from the 2nd floor.
3 PM: Rest of Crew Arrives
This contractor has multiple crews and they flex between locations if one installation is completed earlier than others. In this case, we went from a crew of 2 in the morning to a crew of 5. This typically also helps because all the details are finalized by the PM and it’s just execution from that point on. Everyone is fairly experienced.
4 PM: Final Line Runs & Condenser In Place
Great, we’re almost there with the line runs. Final line runs go through the garage, and the 1st condenser is in place on the pad & stand. Nitrogen is pumped into the system (pressure testing) and the digital manifold gauge is on to detect leaks.

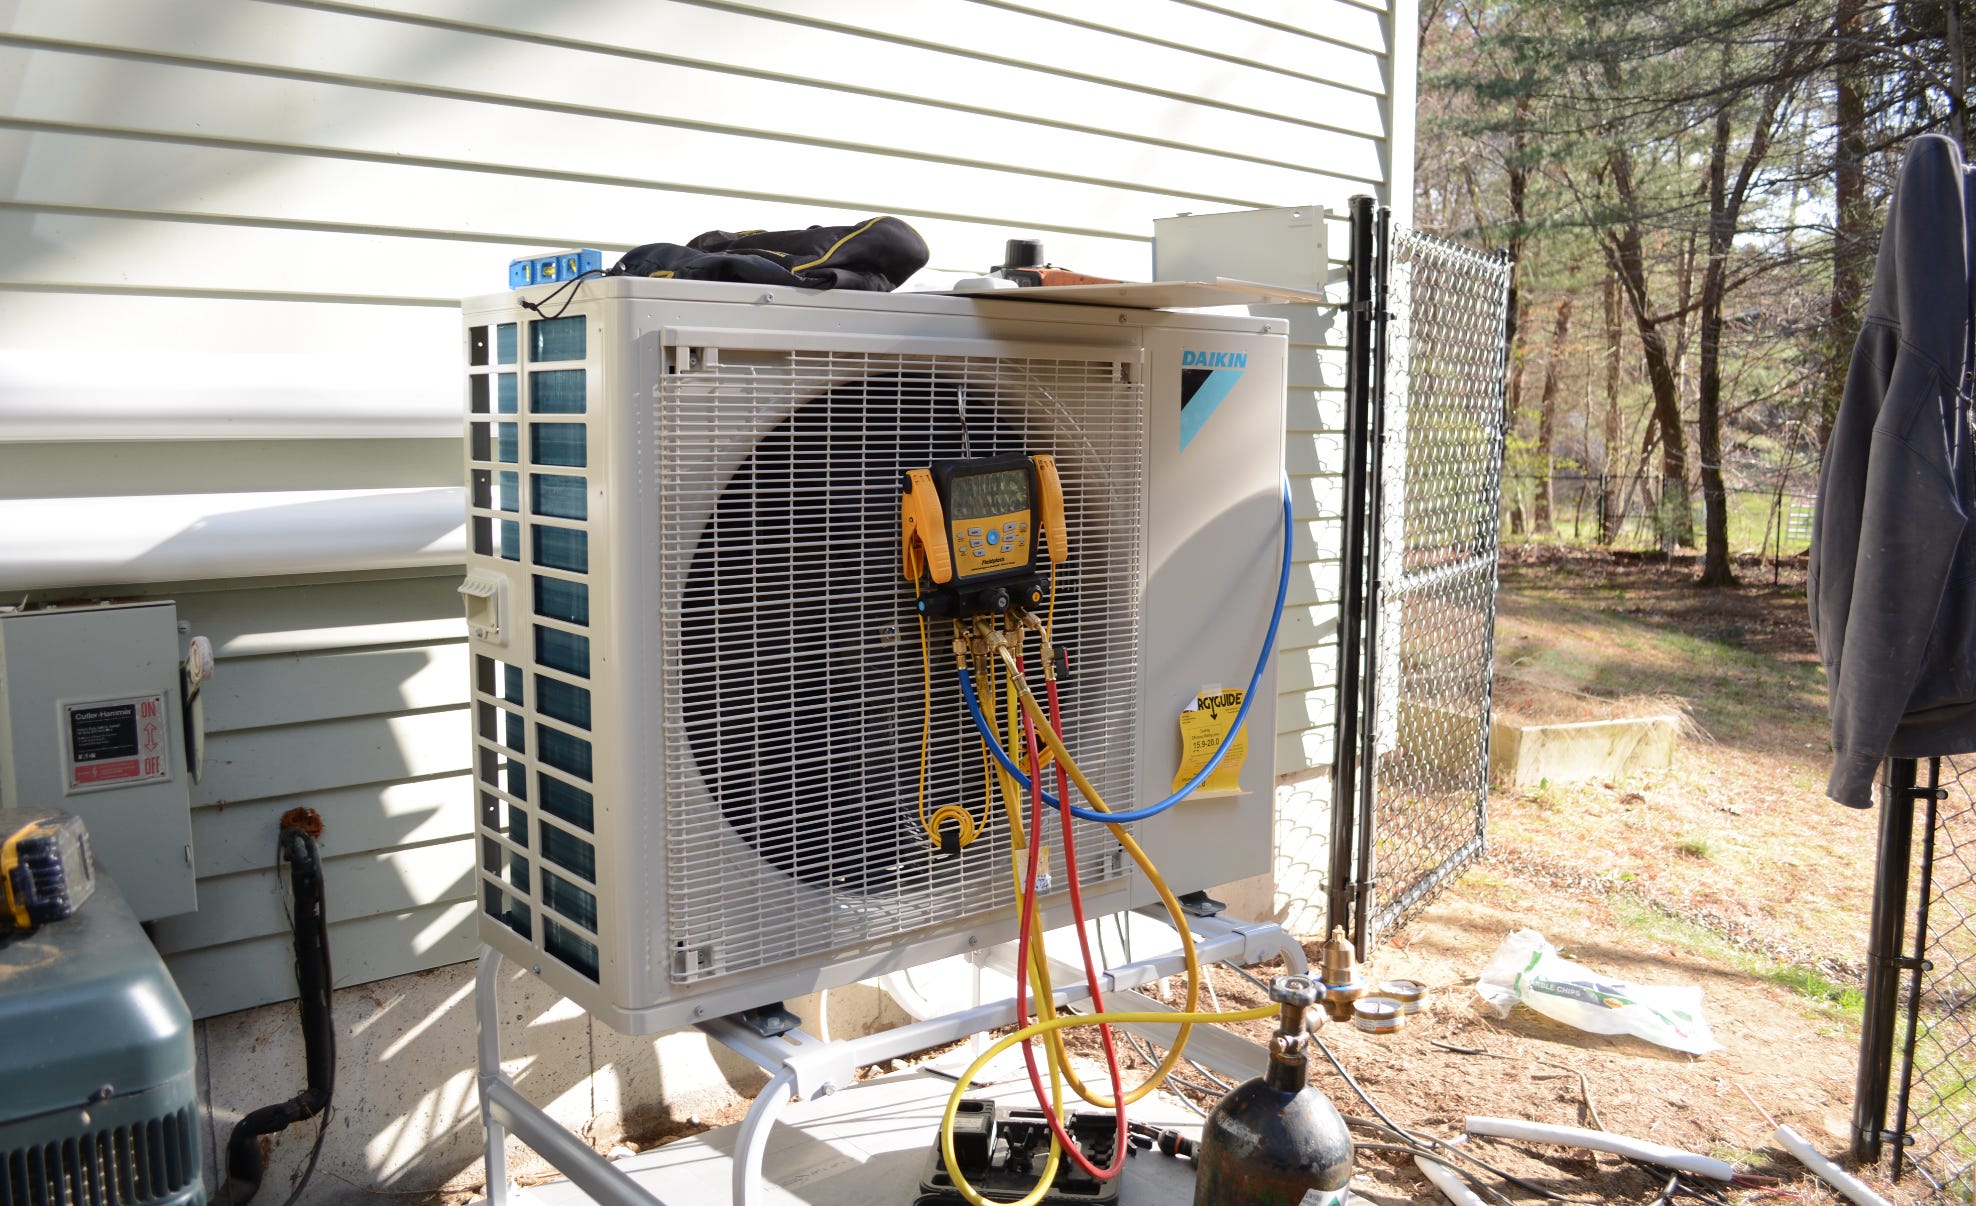
It’s important to note here that this crew typically does an industry average pressure test, which is held anywhere from 30 minutes to 1 hour. We are pushing them to do 1 hour, and in select cases (as with the 2nd condenser here), overnight. You can read more about leak detection in this other article here.

That said, the crew does pull a vacuum deeper than the industry standard of 500 microns (they pull down to <300 microns). This ensures that the refrigerant lines are super clean.
5 PM: Second Condenser in Place & Connected
Okay, so the 2nd condenser is moved to the right position and pressurized with nitrogen. For this installation, we pressurized and left this one overnight to check the morning after.


7 PM: Final Pressure Reading
Pressure psig (lbs per square inch) stabilized at ~467.2 after an initial reading of 470.5.


We are aiming for a number fairly close to that tomorrow morning. As the gauge was unplugged, some nitrogen briefly escaped. (Think: unplugging bike pump from tire.)
Day 2
8 AM: Arrival & Pressure Check
A bit more nitrogen left after reconnecting the pressure gauge. But the morning reading was 445.1, which we felt good about accounting for the nitrogen briefly escaping. A bigger drop would have been more concerning.


9 AM: Deep Vacuum & Releasing Refrigerant
Pulling a deep vacuum down to ~250 micron. Great look, way below the industry standard 500 micron. It may actually be pretty difficult to go down as low as ~250 if there’s a leak, so this is a good sign.
Morning: Electrical Work
Electrical work completed on Day 2, disconnects wired to condenser. System turn on was good.
Early Afternoon: System Turn On
We tested every mini-split. They work.
Completed Installation Gallery
Good stuff here on the mini-split side. This is the degree of work it takes for us to partner with someone.
Exterior:


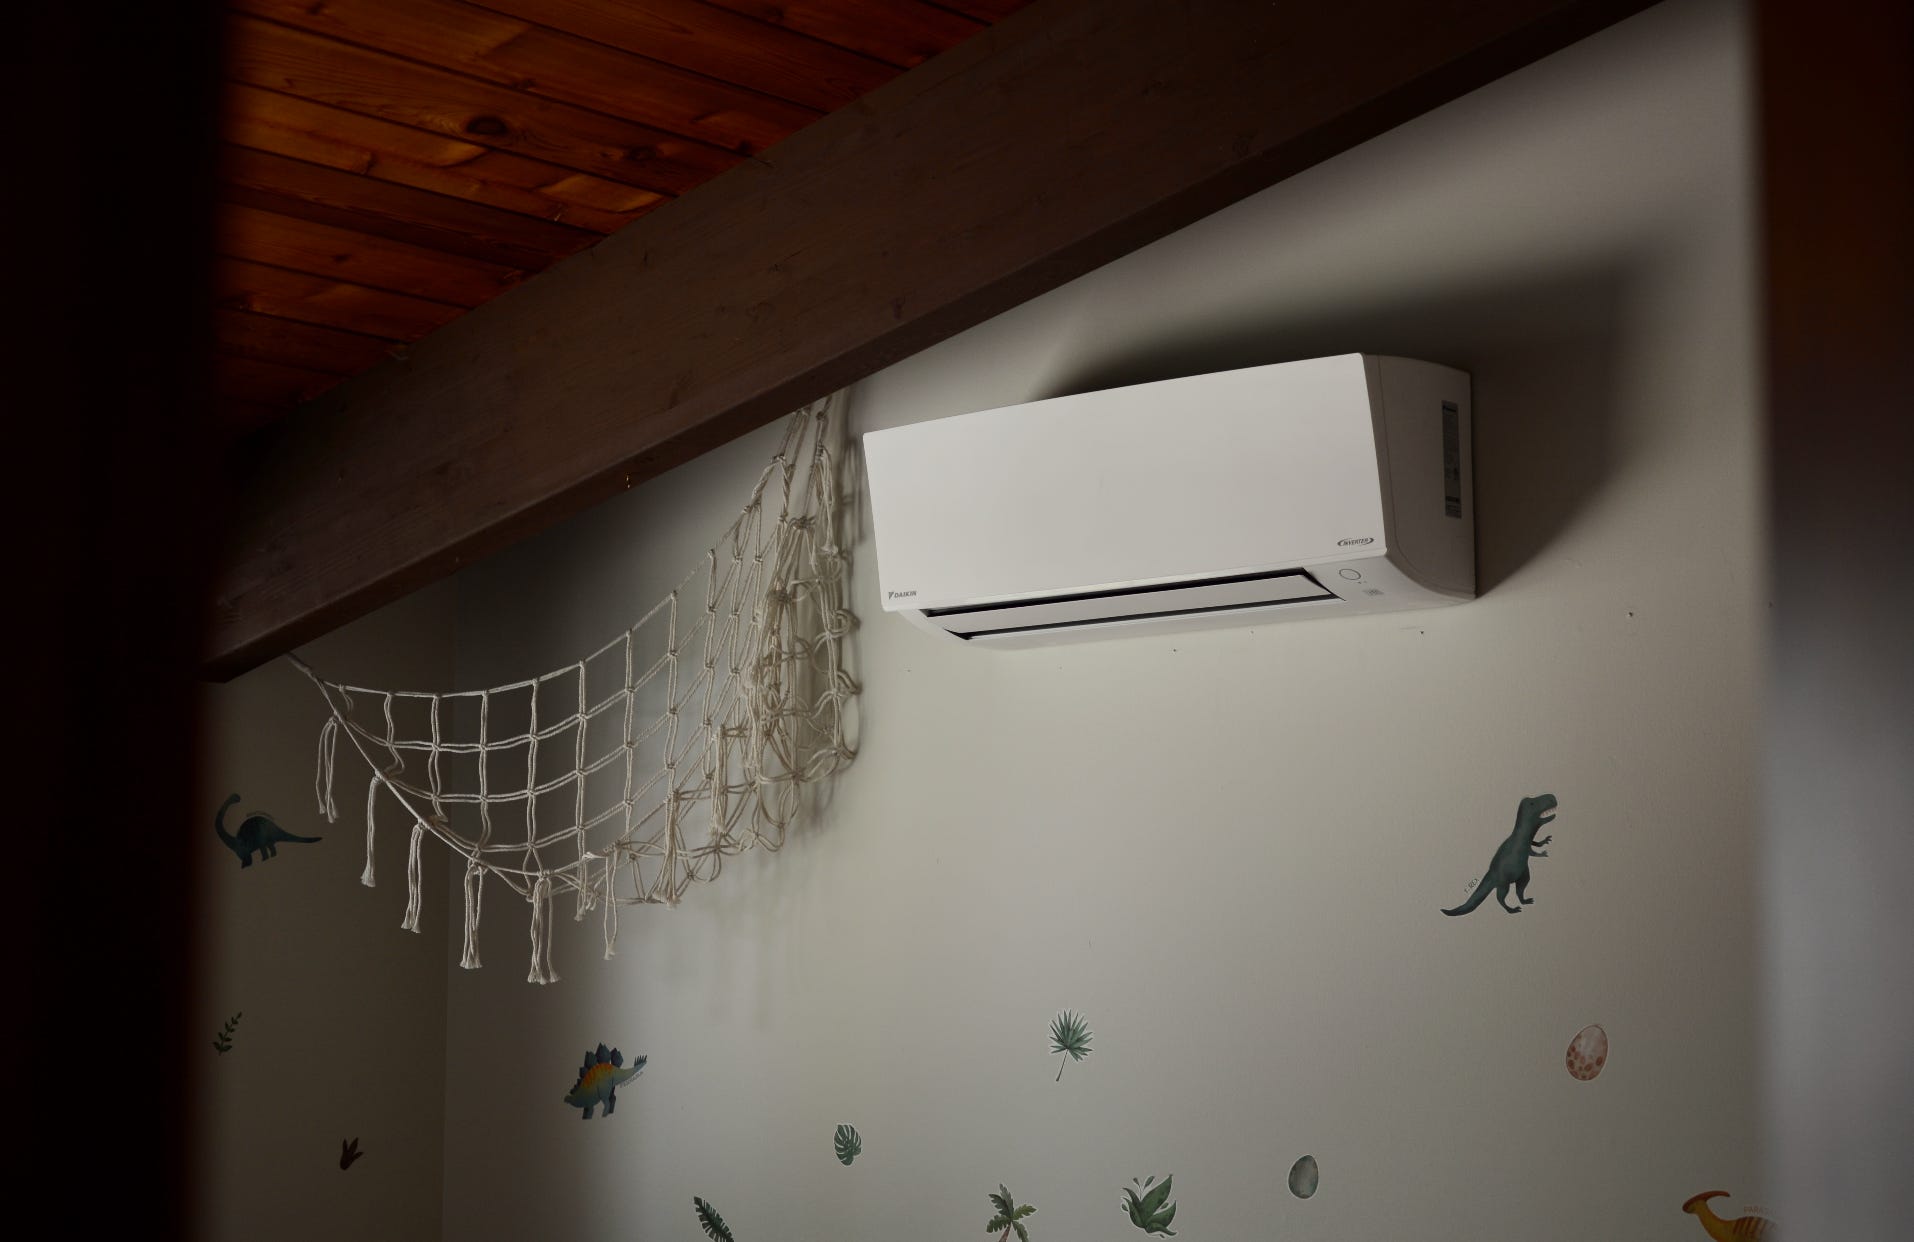
Interior:


Case 2: Arlington Two Family (Colonial), Ducted
Home looking for new ductwork in the attic. The owners live on the 2nd floor, while there’s a separate unit on the 1st floor that also (already) has heat pumps. This is an installation involving one outdoor unit, connected to two slim ducted units (sometimes known as “pancakes”), conditioning about 7 rooms via. ductwork.
Duration: also done in 2 days with a large crew, though they had to come back another day to resolve a thermostat issue.
Day 1
9 AM: Supply House Run
Ducted installations tend to require a lot more consumable materials than ductless installations, so the team does an initial walkthrough, then makes a trip to the supply house to get any materials they didn’t already plan for.
10 AM: Slim Duct Air Handlers In the Attic & Suspended
Air handlers are typically either suspended or placed on elevated pads to reduce noise via. vibration, and also to make servicing easier. (When you can access all sides of an air handler, it’s easier to work with.)
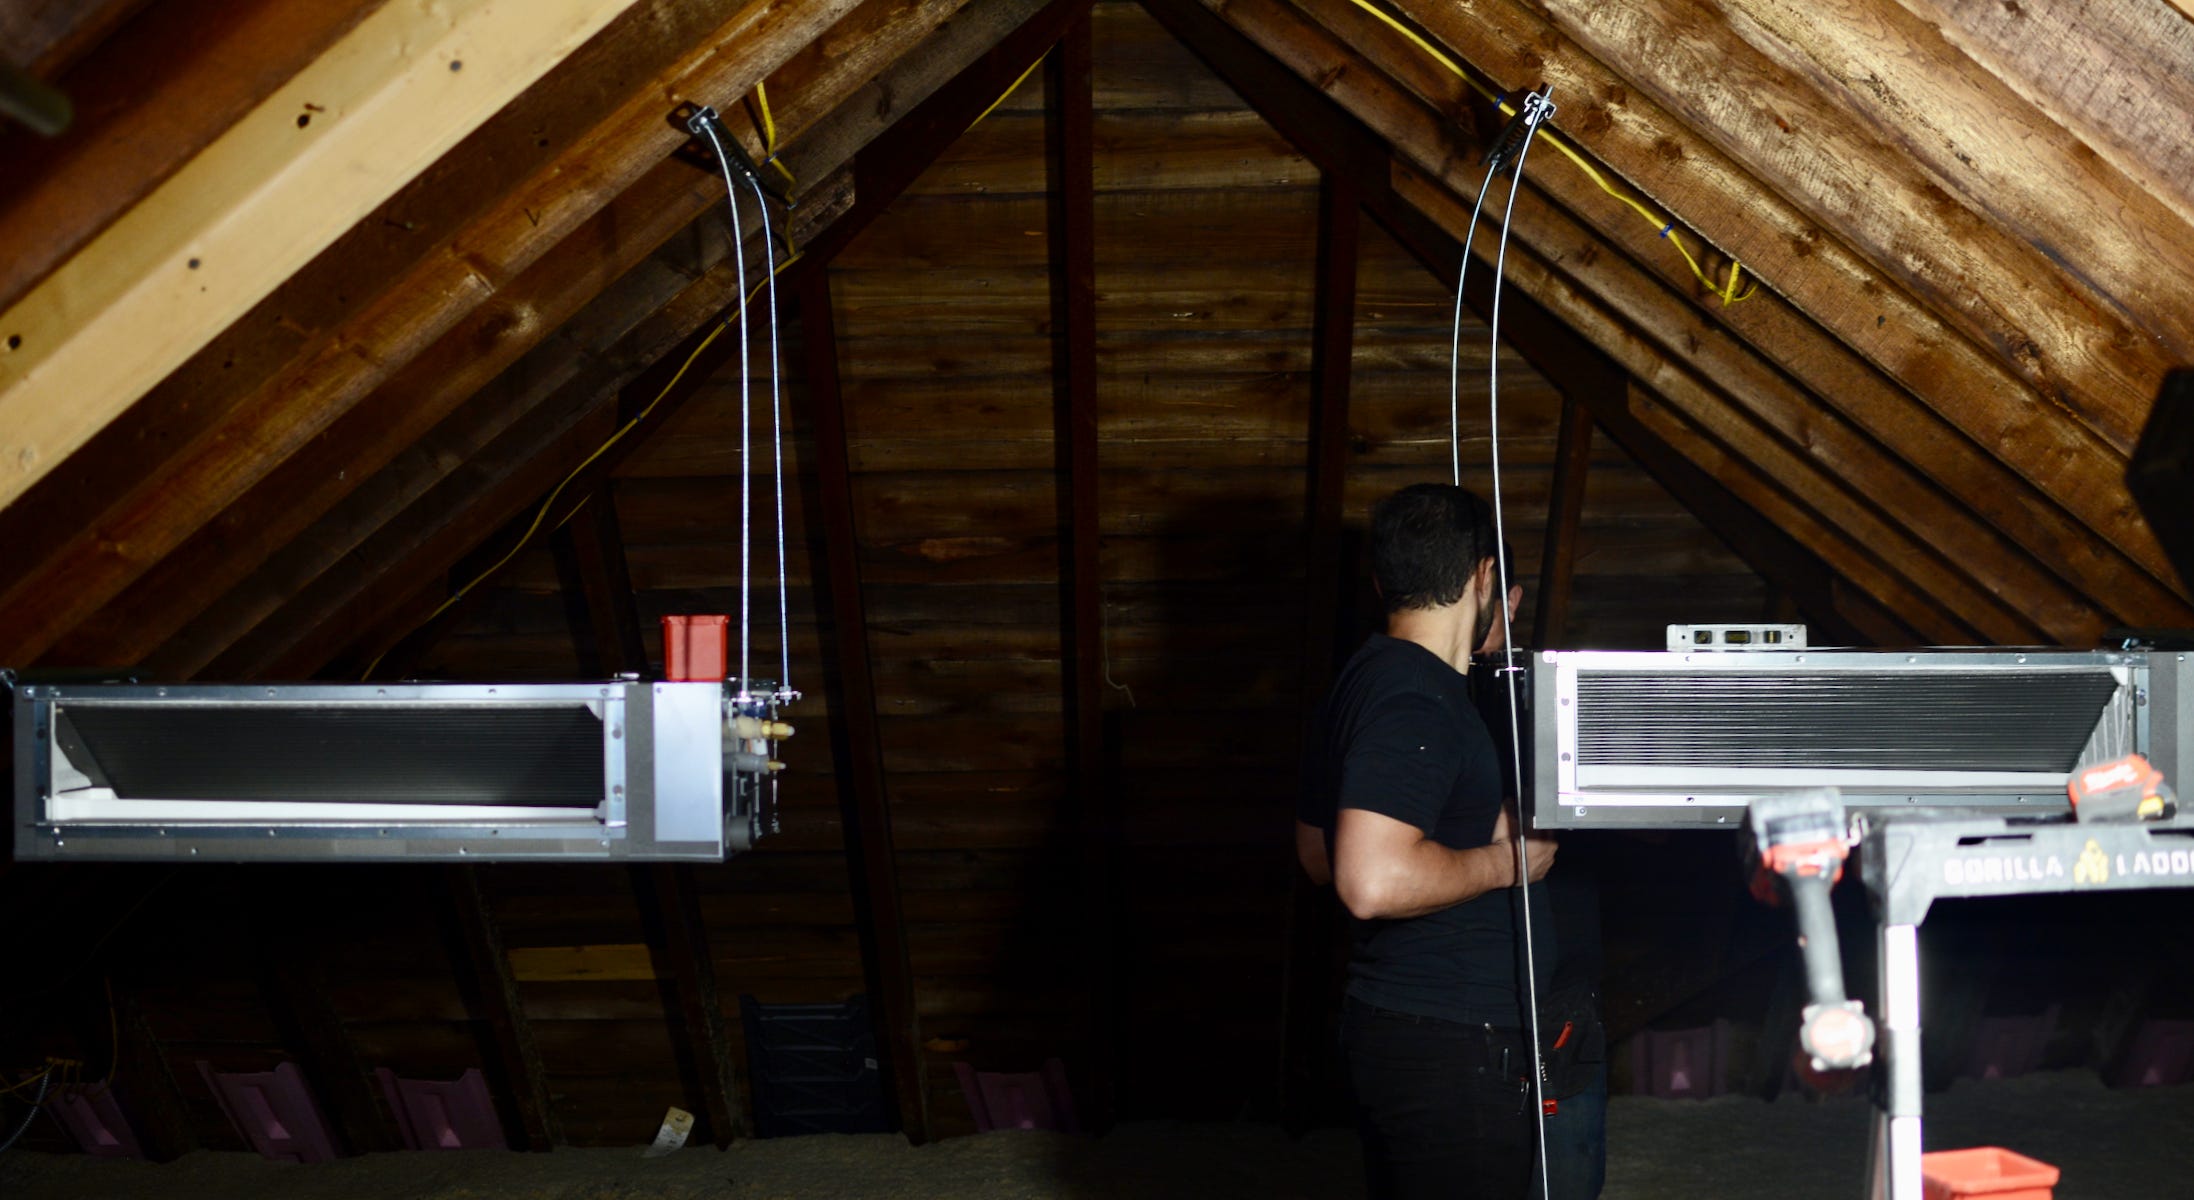
Ideally, preliminary sheet metal work is done by this point, but if there’s any insulation that needs to happen (e.g. wrapping the supply trunk in insulation), it happens at this stage.
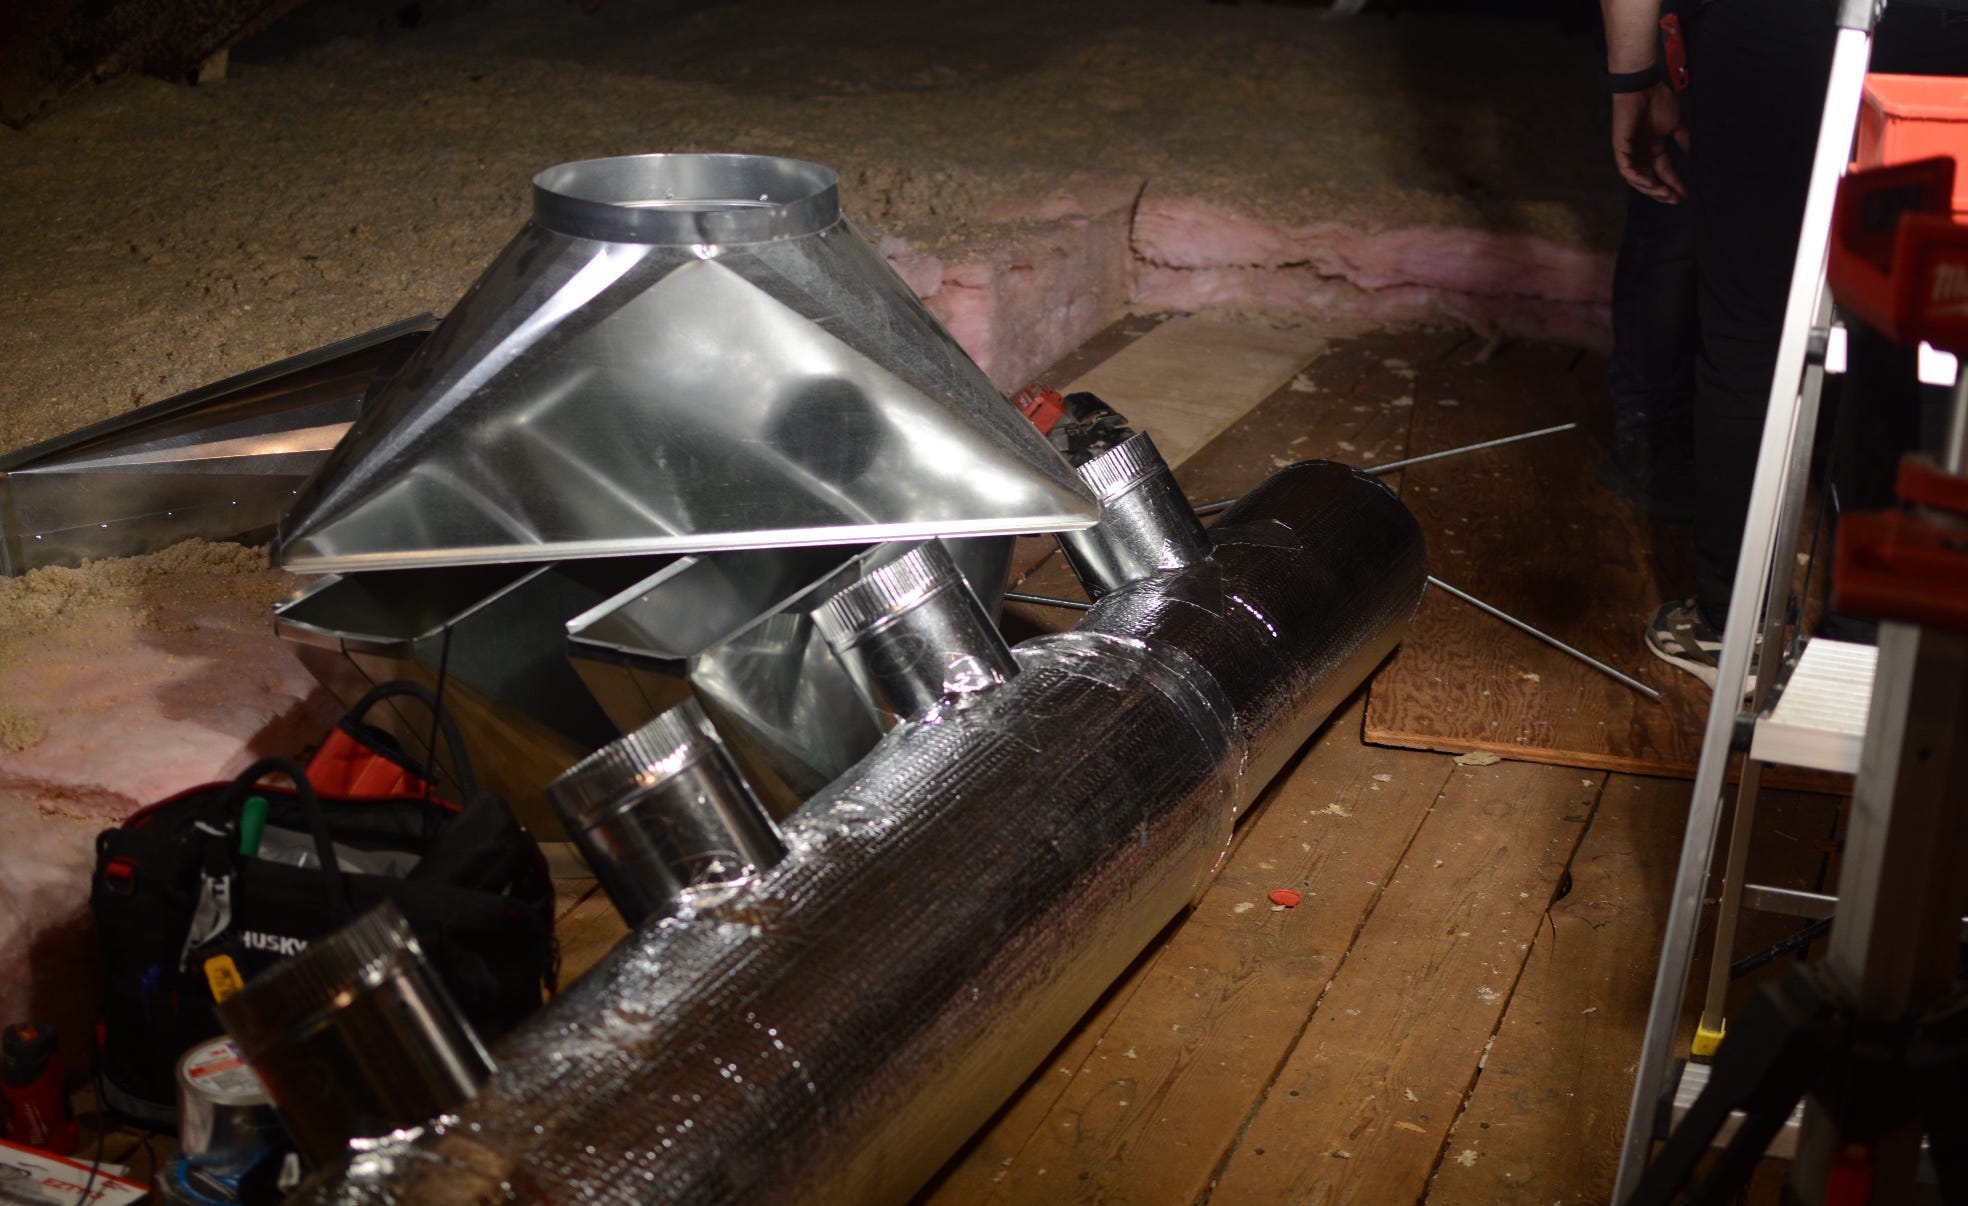
12 PM: Supplies/Returns Cut & Placed


These are pretty standard for ducted installations. You’ve got a supply grille on the left, and a return grille on the right. Each air handler has its own return grill, and multiple supplies. Locations were confirmed morning-of with the homeowners to ensure they’re where they should be.
1 PM: Trunk, Returns, and Ductwork Attached
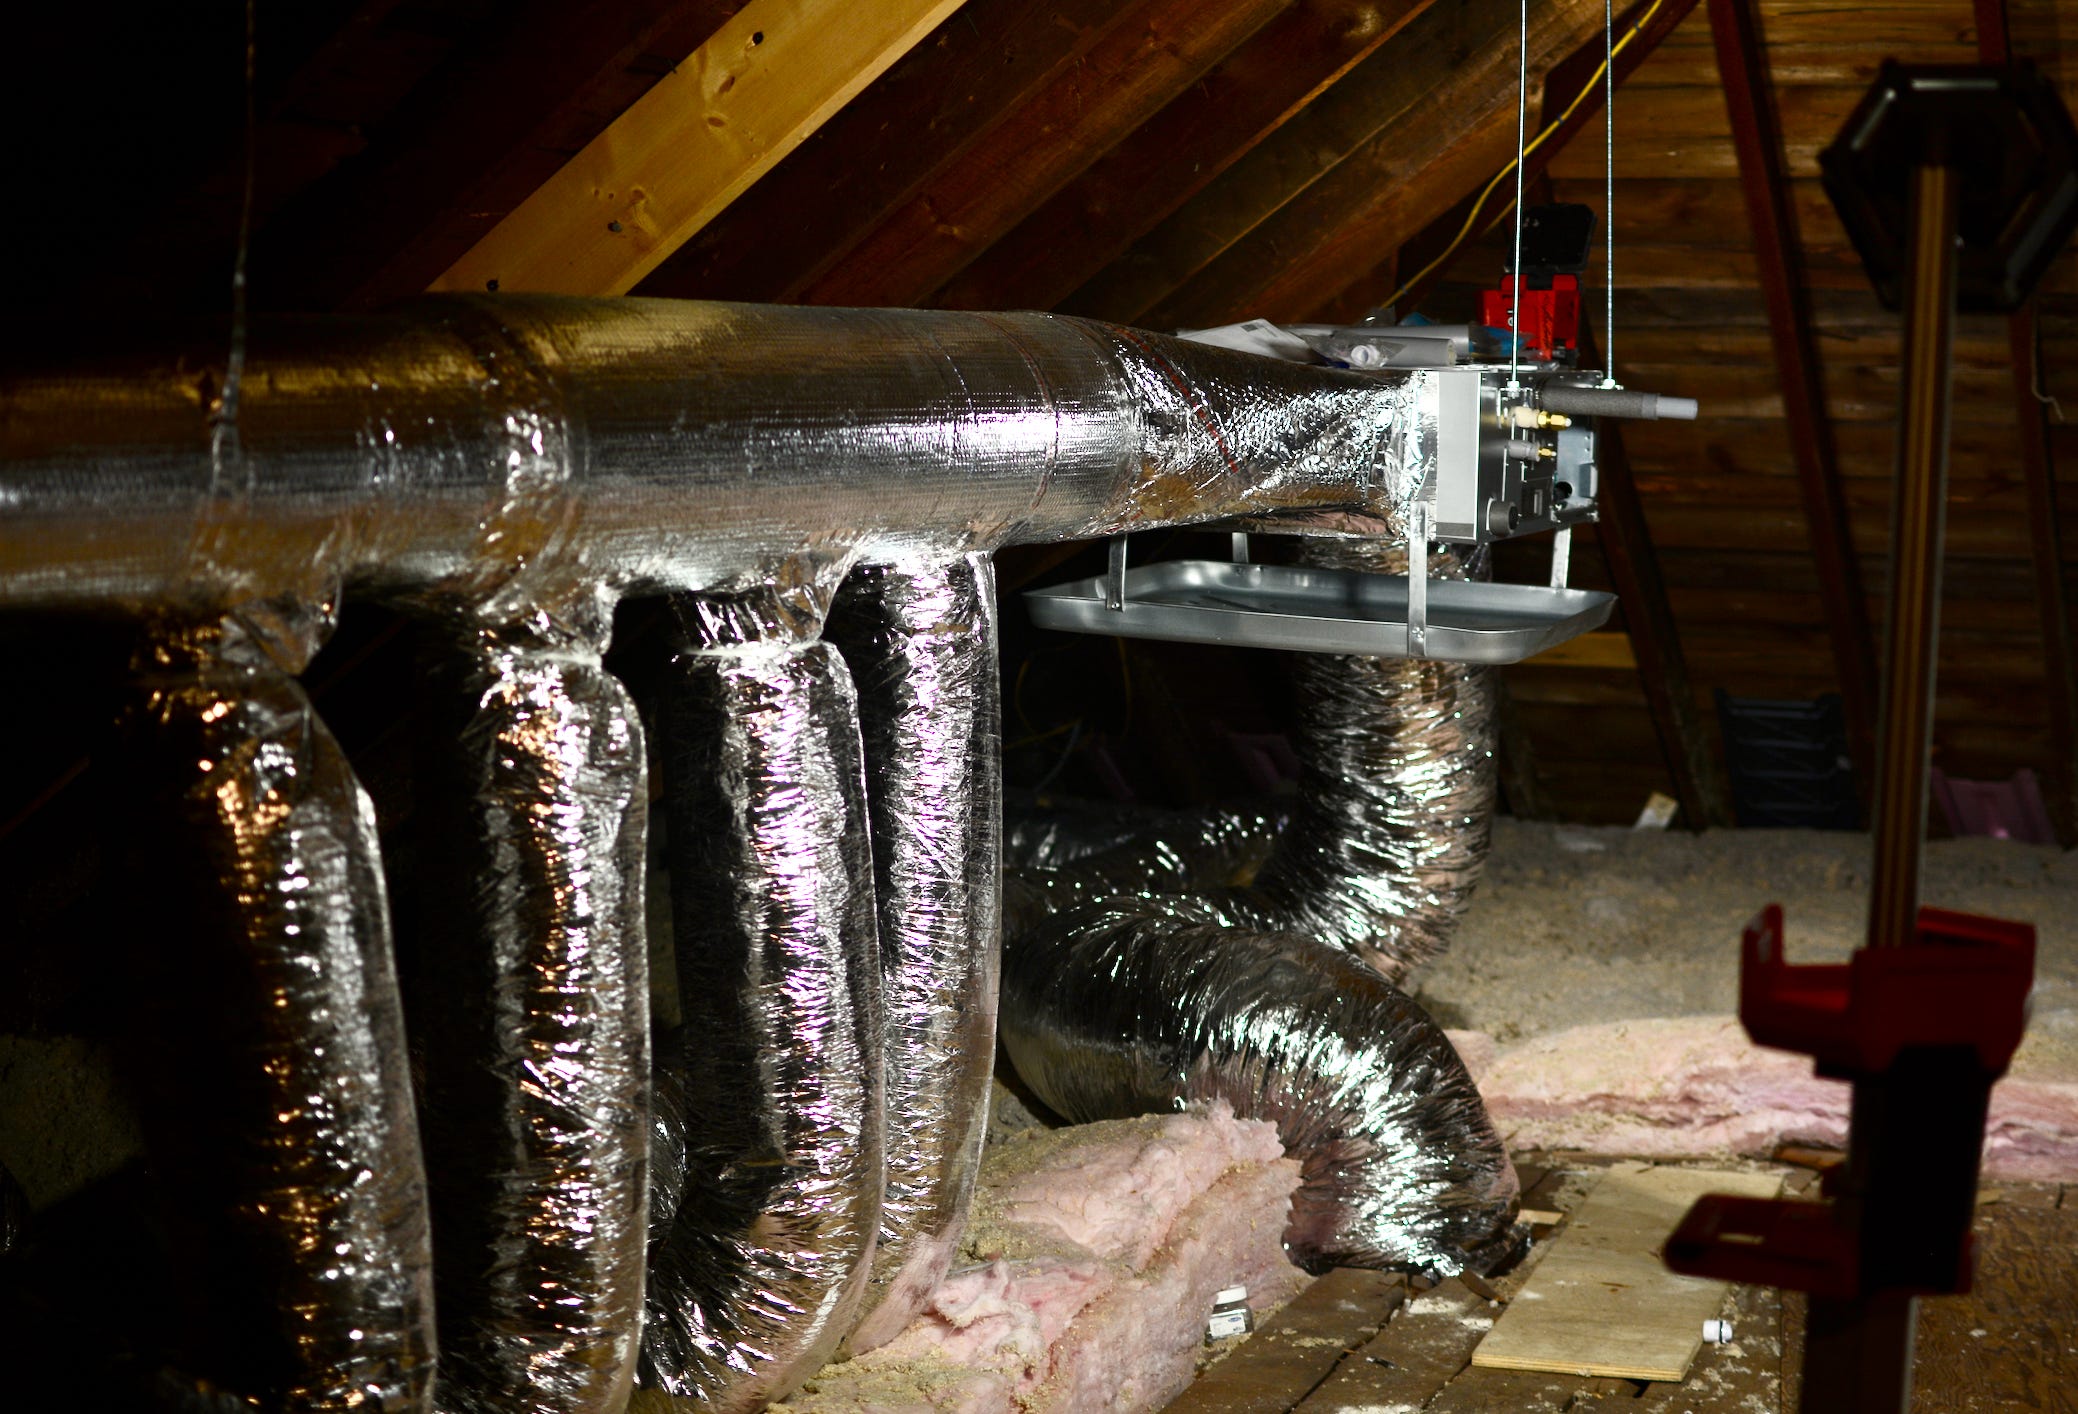
Suspended trunks isn’t a totally new thing - you can see a prior example here from another contractor - so it’s good to see that the runs are generally clean.
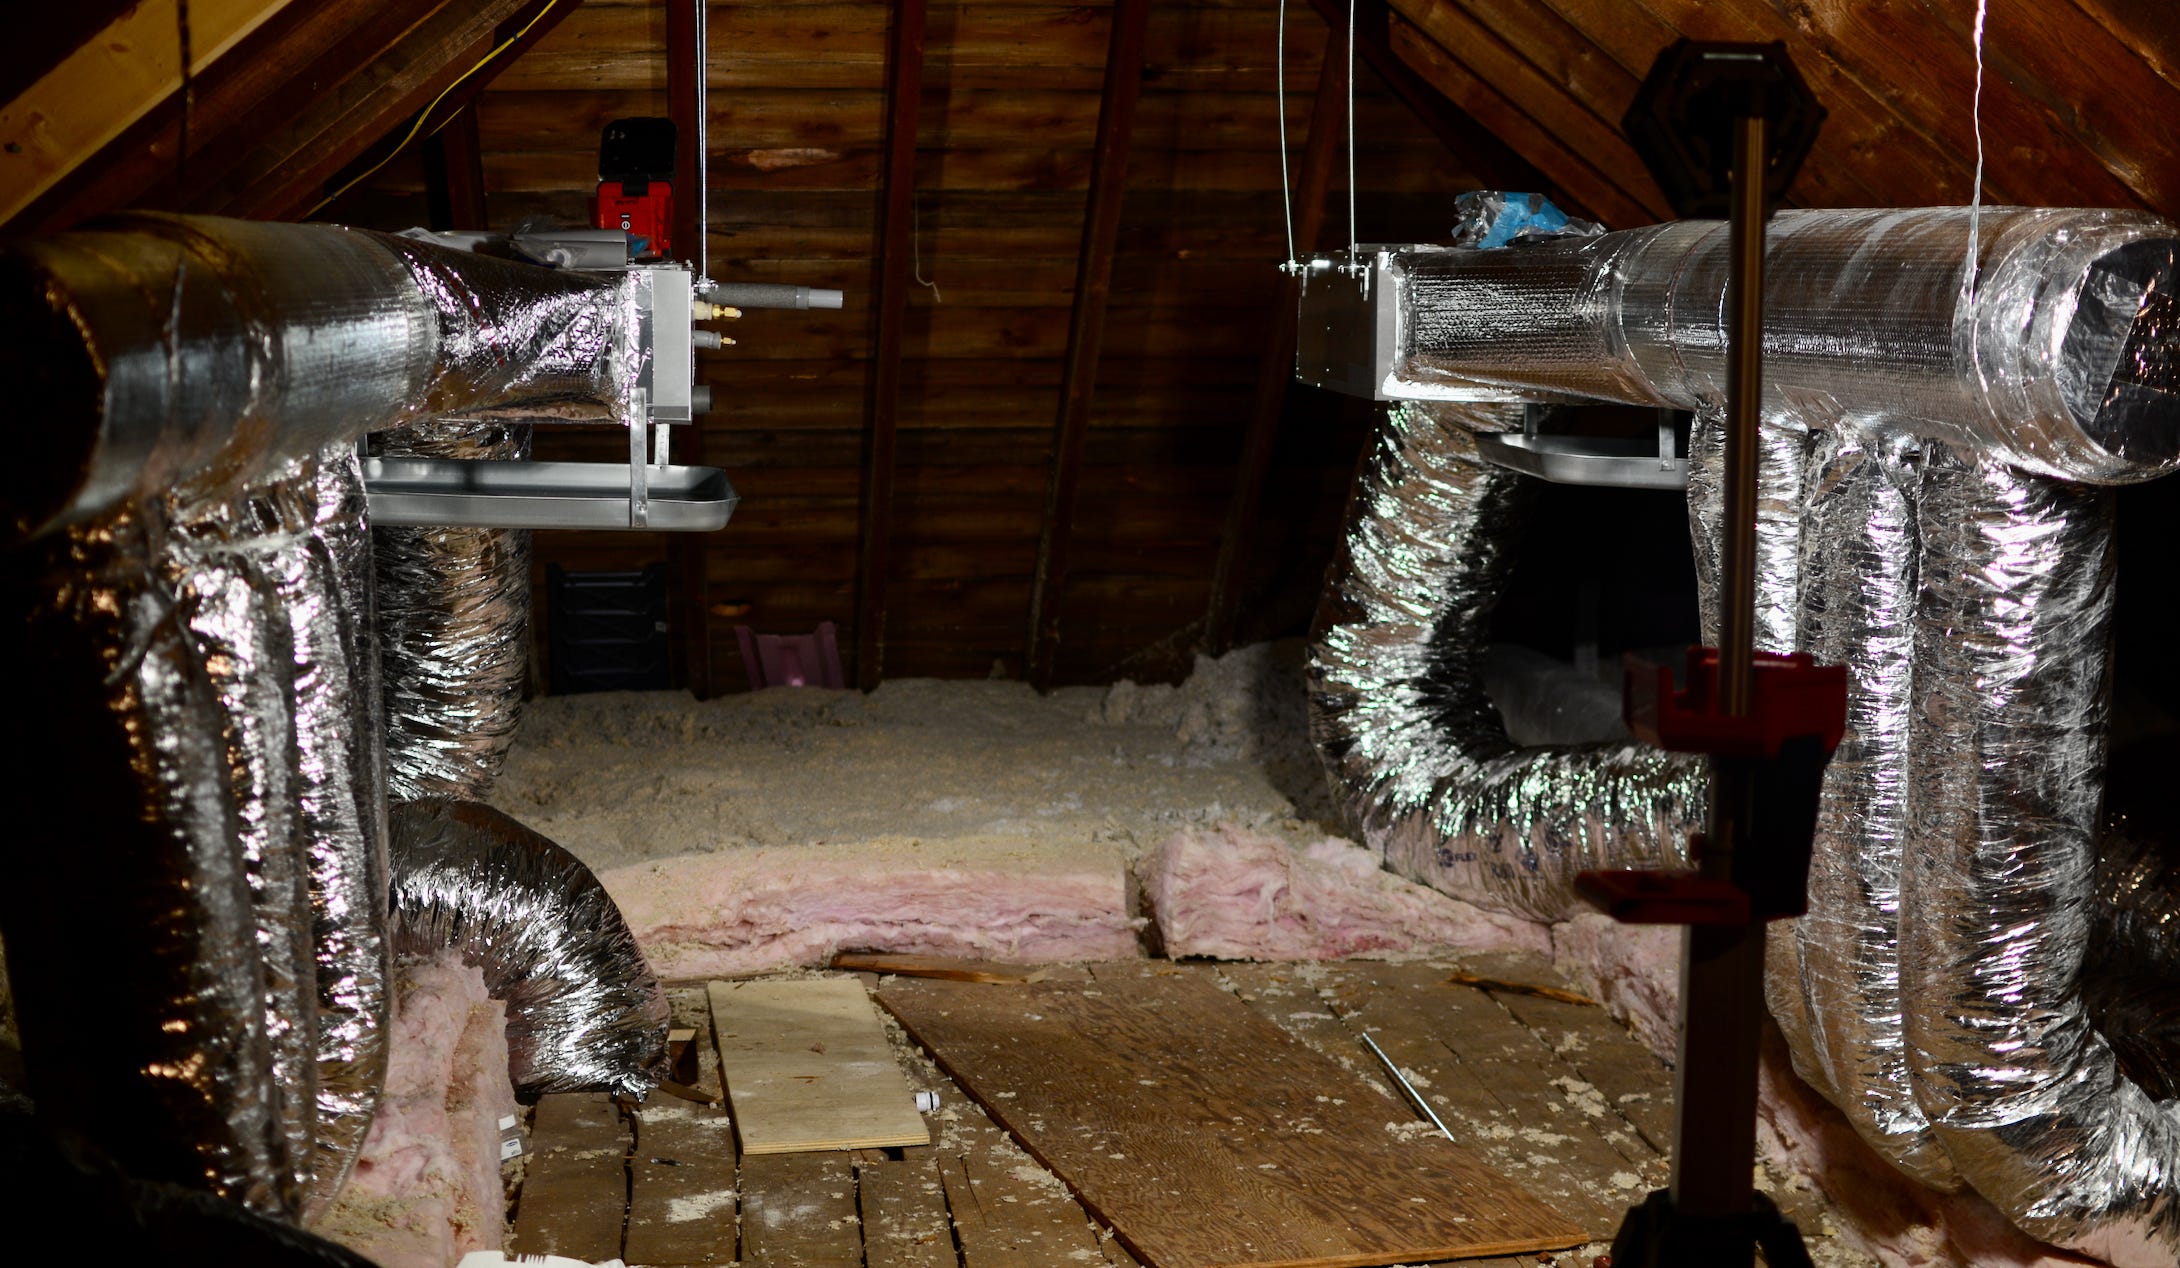
You’ll also need to wire the air handlers, and run condensate & refrigerant lines out of the attic. That’s the next step.
3 PM: Line Cover, Exterior Line Runs, Wire Air Handler


You’ll need to drill a hole, then run lines through it. In this case, they’re drilling the hole right underneath the soffit. What follows is the fairly physically exercise of pushing lines through a hole that’s just small enough up to 2 stories, up a ladder.
(This is why we value construction experience.)
Along with the condensate line and refrigerant line, the electronic/controls wire also ends up getting fed through the hole. You’ll need it for the air handler.
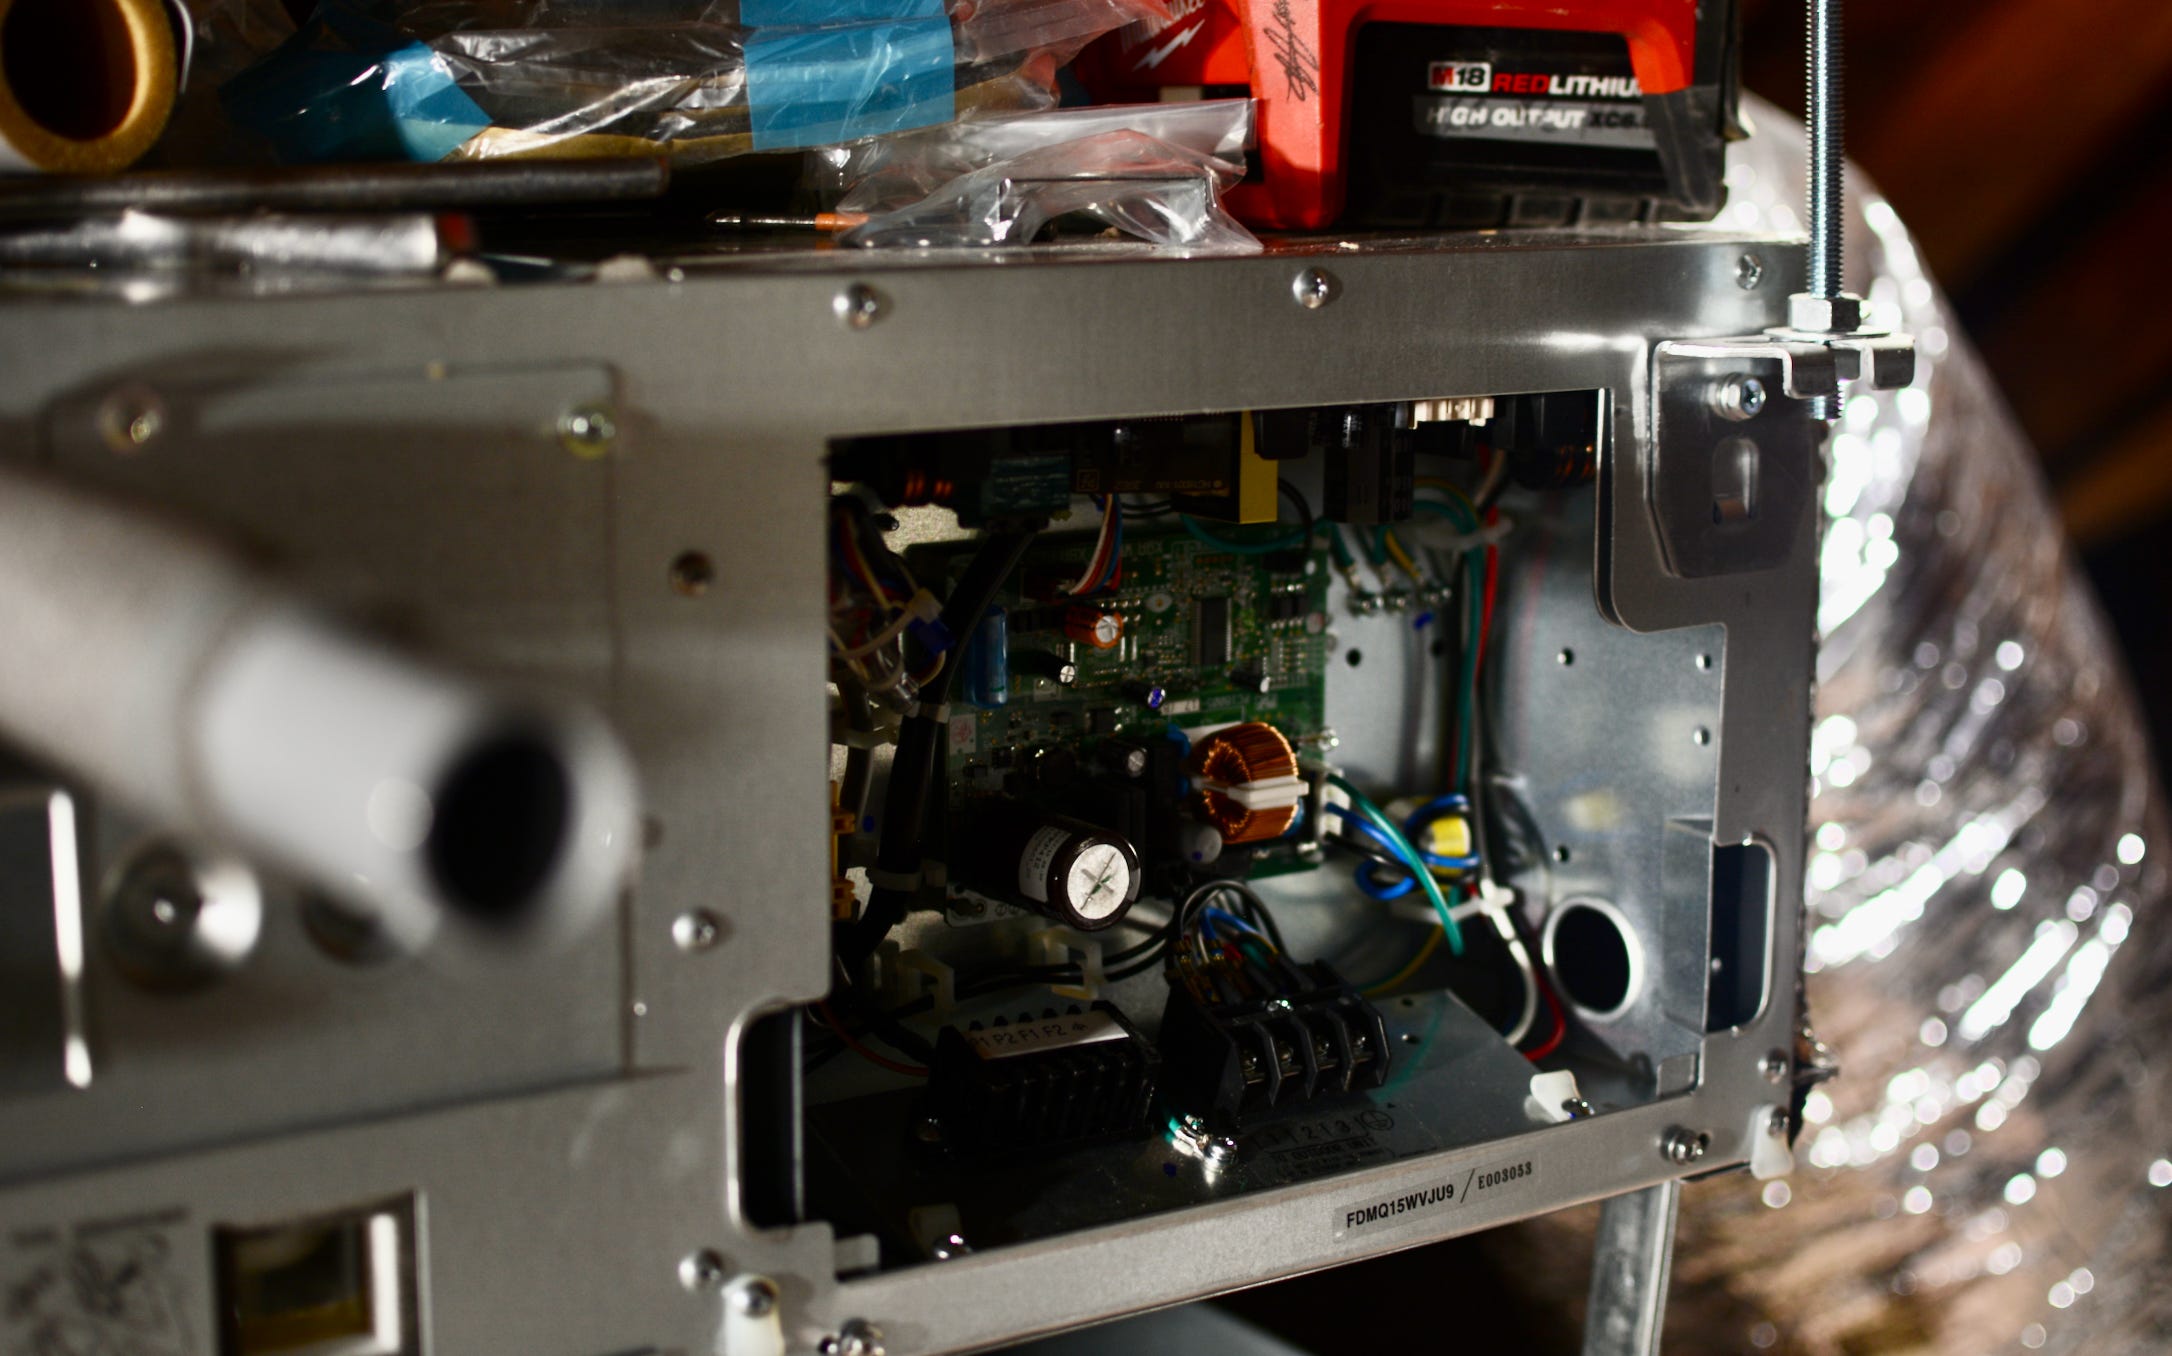
5 PM: Line Cover Completed, Condenser in Place, Leak Testing


You can see on the left the completed line run. In this case, with lines only going up to the attic, it’s relatively simple: a single line run.
The outdoor unit (condenser) is placed underneath. Now it’s time for pressure testing, which I wrote more about here:
We’ve previously done overnight pressure testing with this crew at the Lincoln installation above. You can see on the digital manifold gauge here that they’re holding pressure at 470.3 PSI, which we stared at in person for about 15 minutes.
8 PM: Wrapping Up
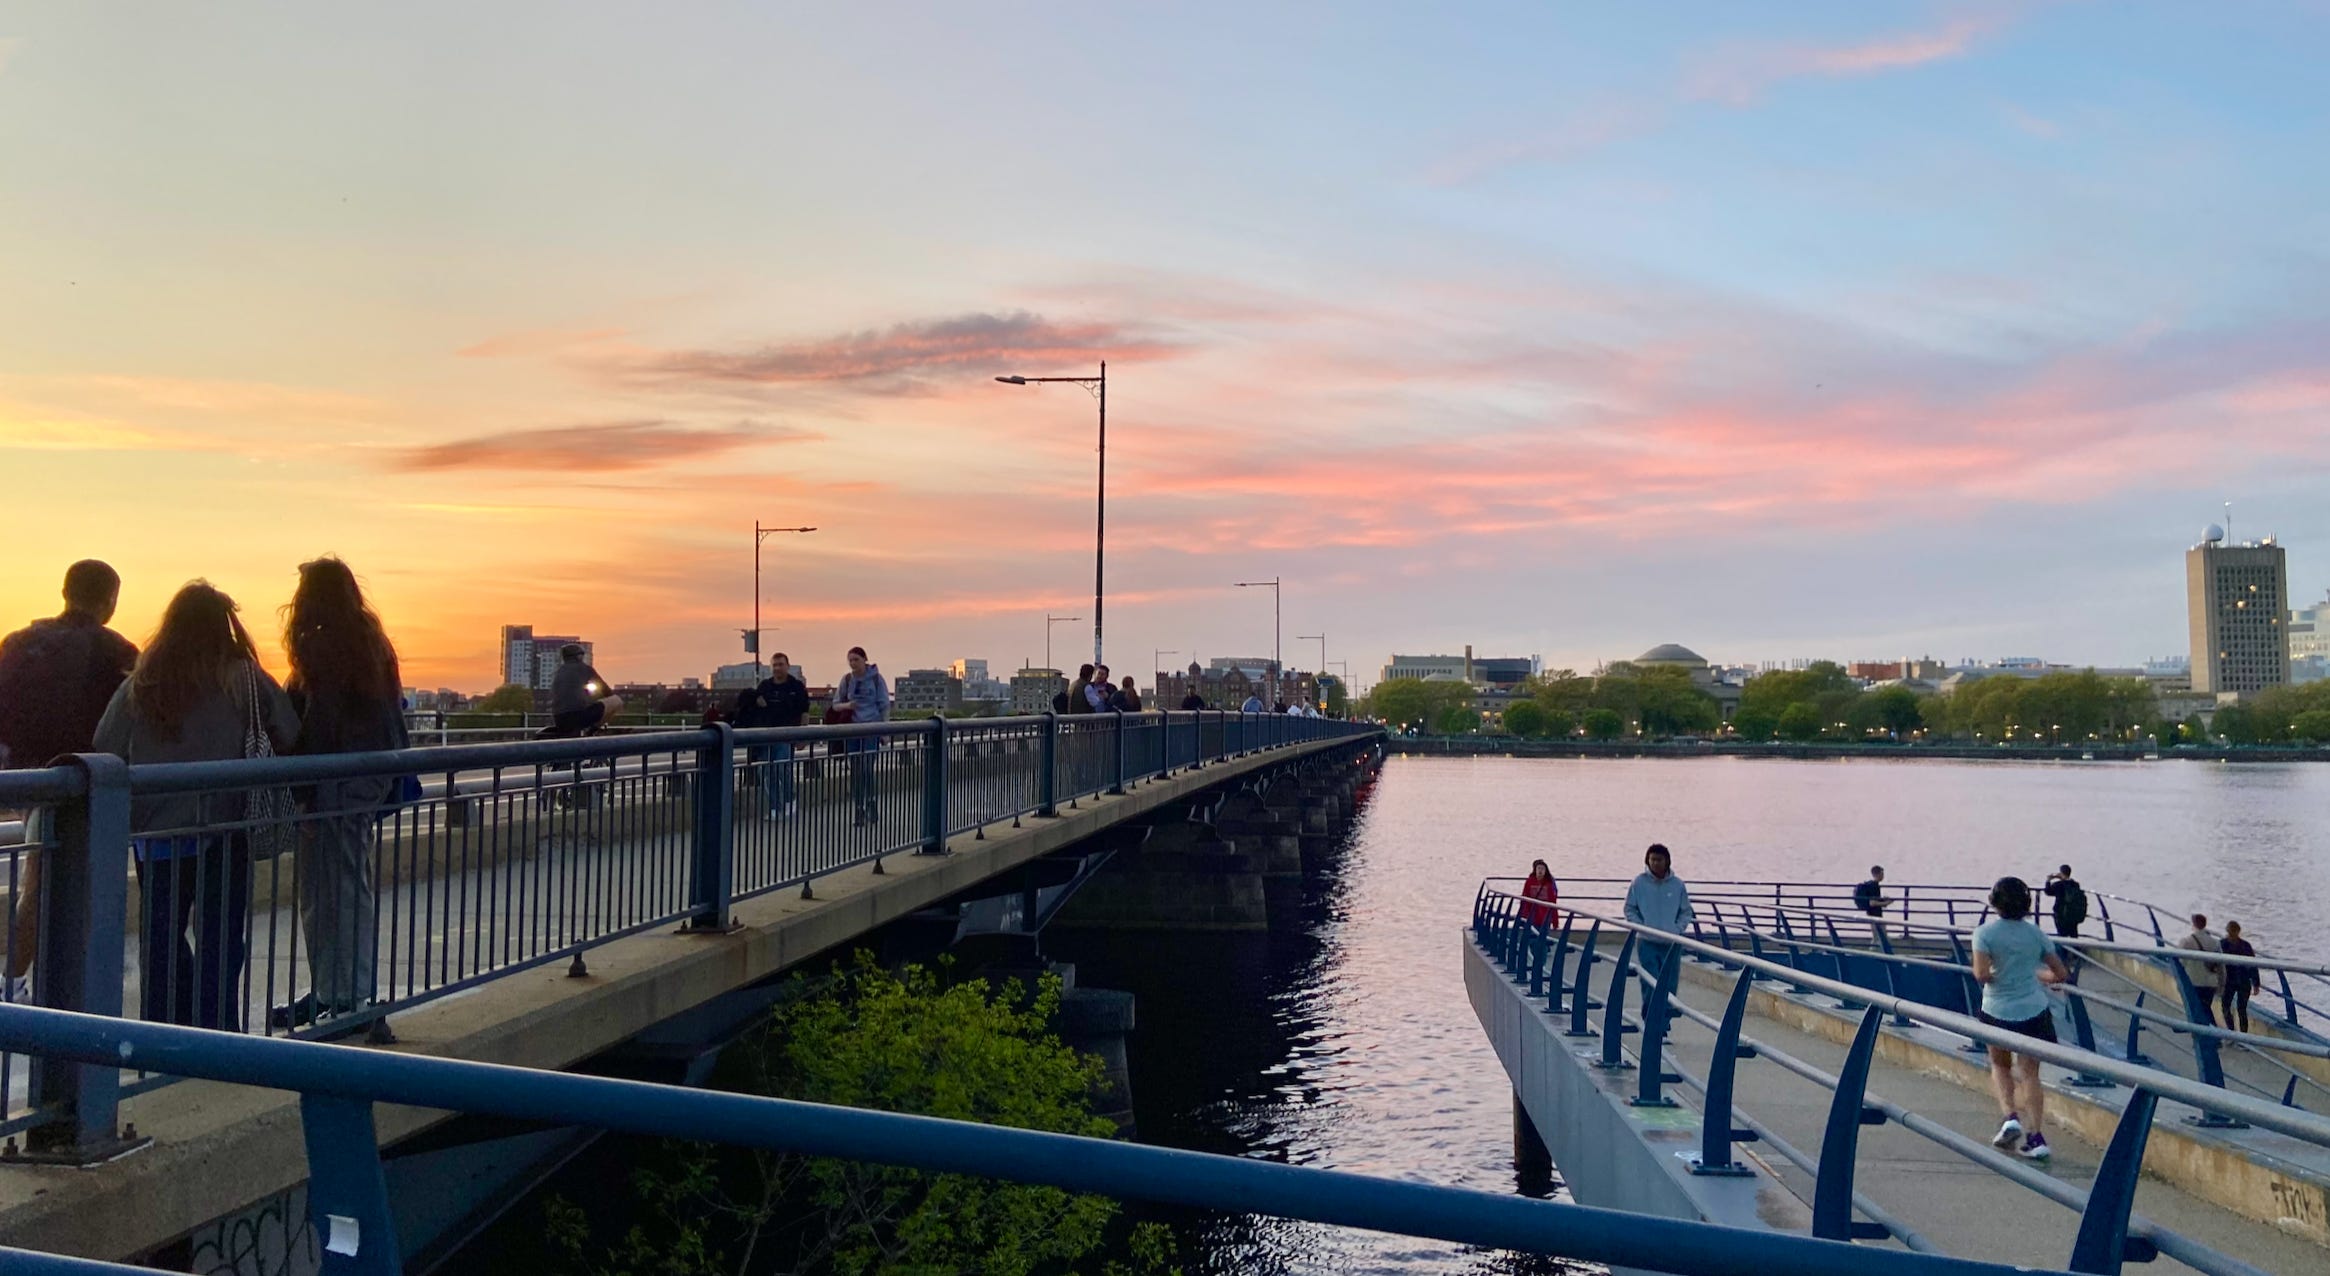
With the installation mostly complete, and Hannan (LC cofounder)’s car stuck behind the box trucks in a driveway (he would’ve stayed to hold down the fort regardless), I wrap up my day and go for a run on the esplanades. While I pay myself a grad student salary & watch it all go towards Cambridge rent & food, at least I get nice views like this every once in a while.
Day 2
Electrical work! I don’t have photos of this, alas. But it was completed on Day 2.
Takeaways
The 2 issues with this installation were:
A part of the ceiling for one particular supply chipped off more than necessary. Day 2 involved a preliminary patch up, and we are finishing it up with a GC for this stuff.
Thermostat didn’t work. Ultimately, it was due to a missing adapter. We got the adapter, and Hannan wired it in himself.
You want to be good at construction because figuring out where lines can be run/mini-splits can be placed is largely a function of knowing how buildings are built and if you can punch holes through a wall.